It’s Decoupage Time….and you’re going to love making this simple DIY Jewelry Holder because it’s so darn cute and easy to make! There is a DIY video, at the bottom, if that is easier for you.
If you don’t already know how to decoupage you are in for a treat! Decoupage is a DIYer’s best friend. You will literally want to use this technique on so many things!
OK, Let’s make this…..
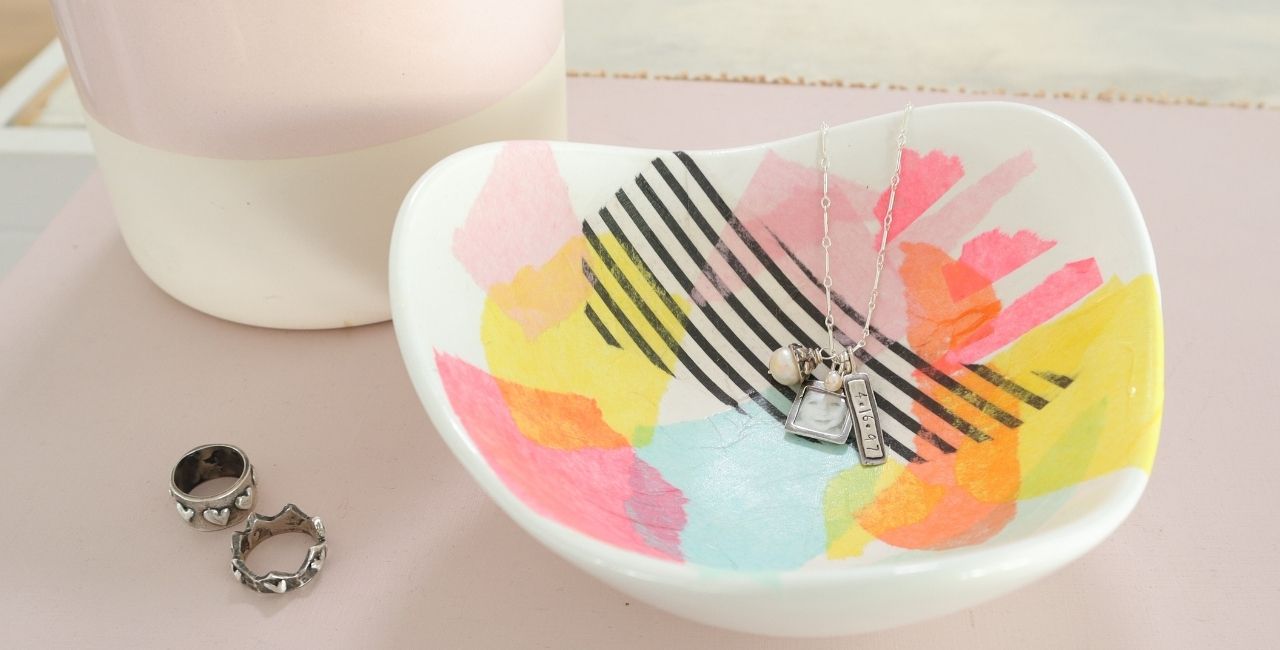
…and I know what you’re thinking….that jewelry in the bowl is so darn cute!
When you’re done making your DIY Jewelry Holder you can make a necklace and some bracelets to fill your new jewelry dish with too.
There’s a “Video Tutorial” at the bottom of the page if that makes it easier for you to make your tissue paper DIY jewelry holder.

DIY Jewelry Holder Supply List:
The supply list is super small. You probably have these things in your home already.
- Assorted Tissue Paper
- Mod Podge (This is a must in your DIY Tool Box. There are so many How to Decoupage Projects you can make!)
- Paint Brush
- White Bowl (I got my bowl from the 99 Cents store)
- Gold Scissors ( My Favorite!)
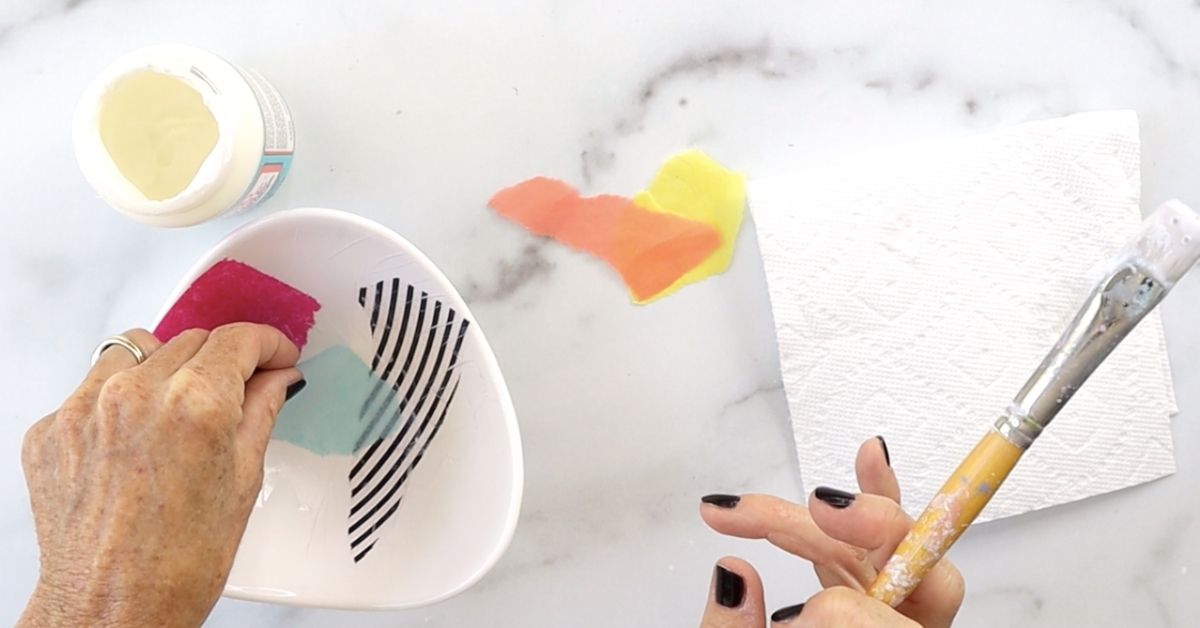
1. TEAR IT
Tear up some small pieces of tissue paper in assorted shapes, colors and patterns.
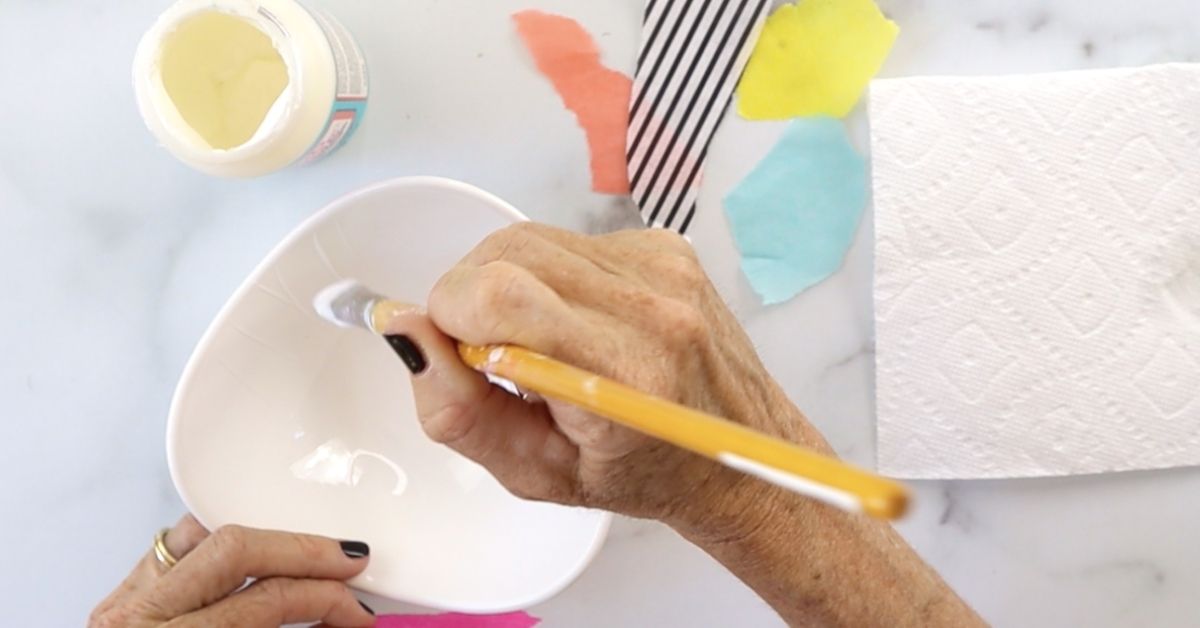
2. PAINT IT
Paint a light layer of Mod Podge on your bowl only the size of the desired torn piece of tissue.
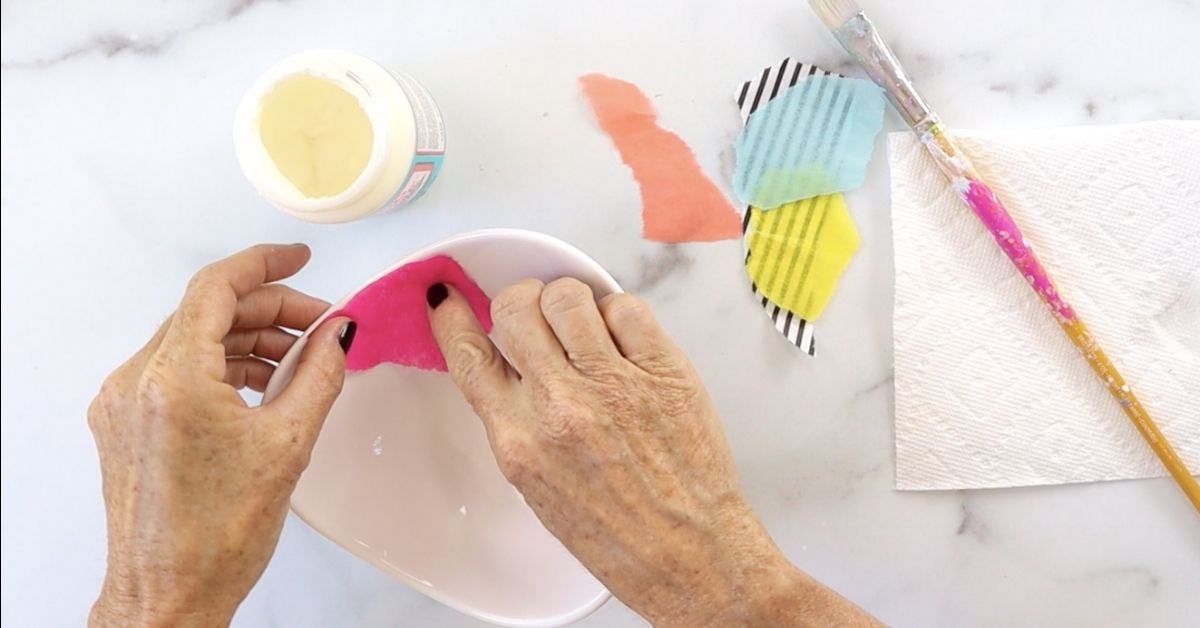
3. BE GENTLE
Gently place the tissue piece on your Mod Podge area to create a decoupage.
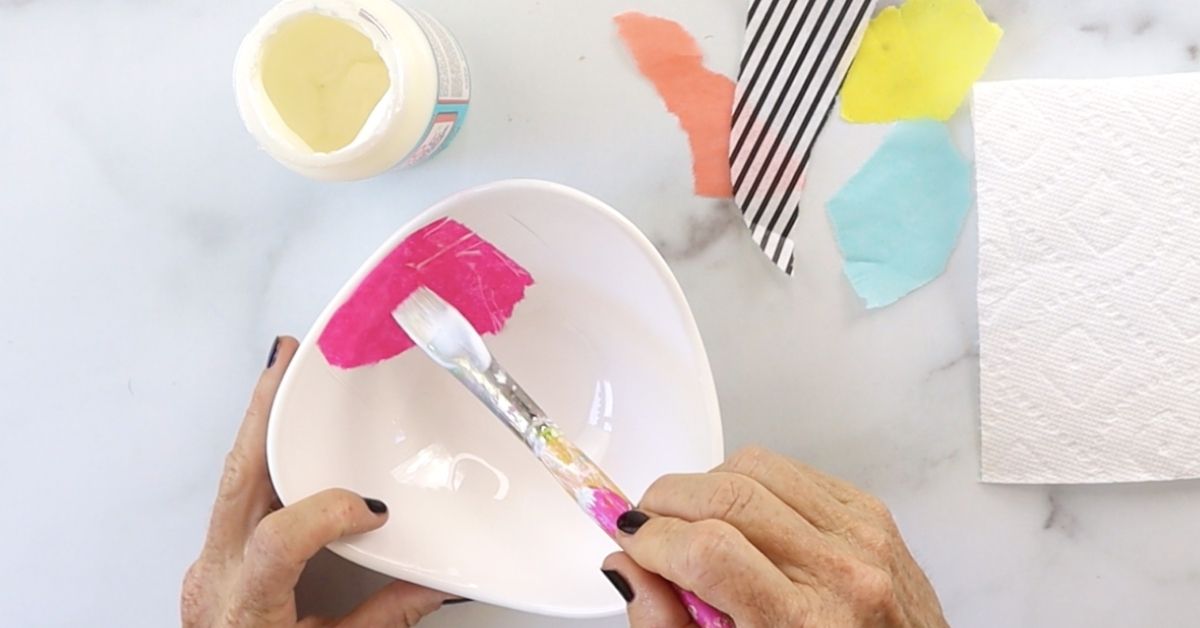
4. PAINT THIN LAYER
Now, take your paint brush and gently paint a thin layer of ModPodge on top of your tissue paper.
(NOTE: Be very careful not to overdo this part. Be very gentle so you don’t tear the tissue.)
5. REPEAT THE PROCESS
Repeat the process, explained above, and continue to decoupage your tissue paper any way you want on your bowl to make the most stylish and DIY jewelry holder.

6. SEAL IT
When you have all your pieces in place you can seal everything by painting a thin layer of ModPodge over each tissue piece. You can wipe any excess on your jewelry dish with a damp paper towel.
Let dry for about an hour and then add another 1-2 coats.

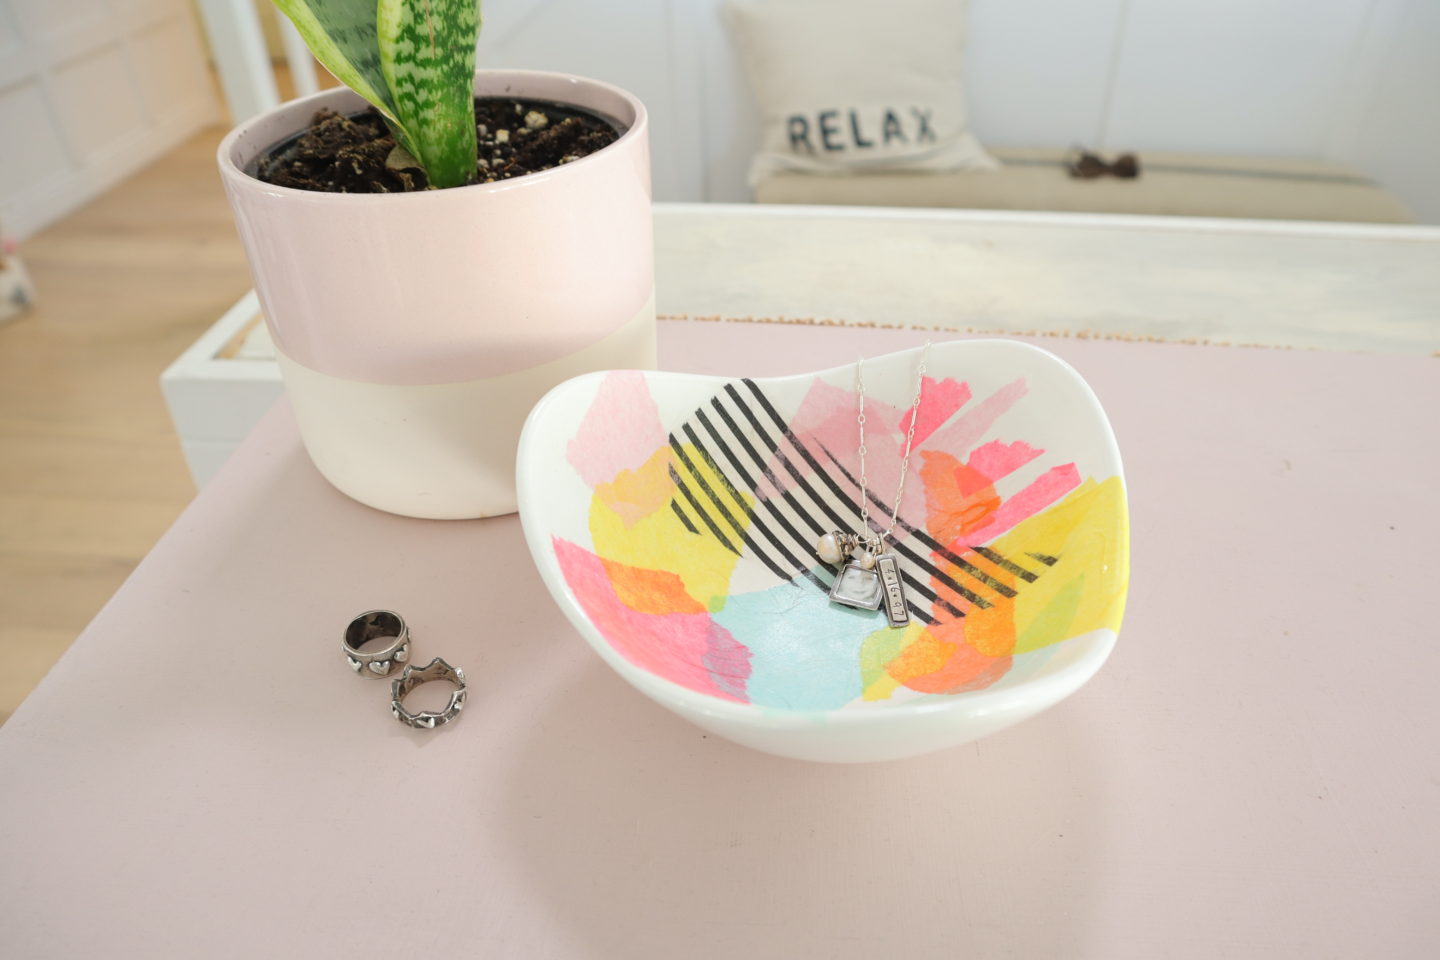
Ta Dah!!! You’re done….
Your Simple DIY Jewelry Dish is ready to use any place that you take your jewelry off. A great place is on your bathroom sink or bedside table.
I hope you loved making this super easy jewelry holder! I bet you will like this upcycle mason jar picture frame too.
Now let’s add make some jewelry to put in your jewelry dish….
Here are “2” super cute Jewelry DIYs.
“How to Make Wrapped Bracelets with Charms.”
OR, “How to Make a Name Necklace with Your Name on it.”
Maybe you noticed the adorable jewelry in the Jewelry Tissue Bowl.
You can go here to check out the Personalized Jewelry!
I also just put together a fun video that shows you how to make this project.
You can see it below.
Be sure to “Pin this Project” to your favorite DIY Craft Board.
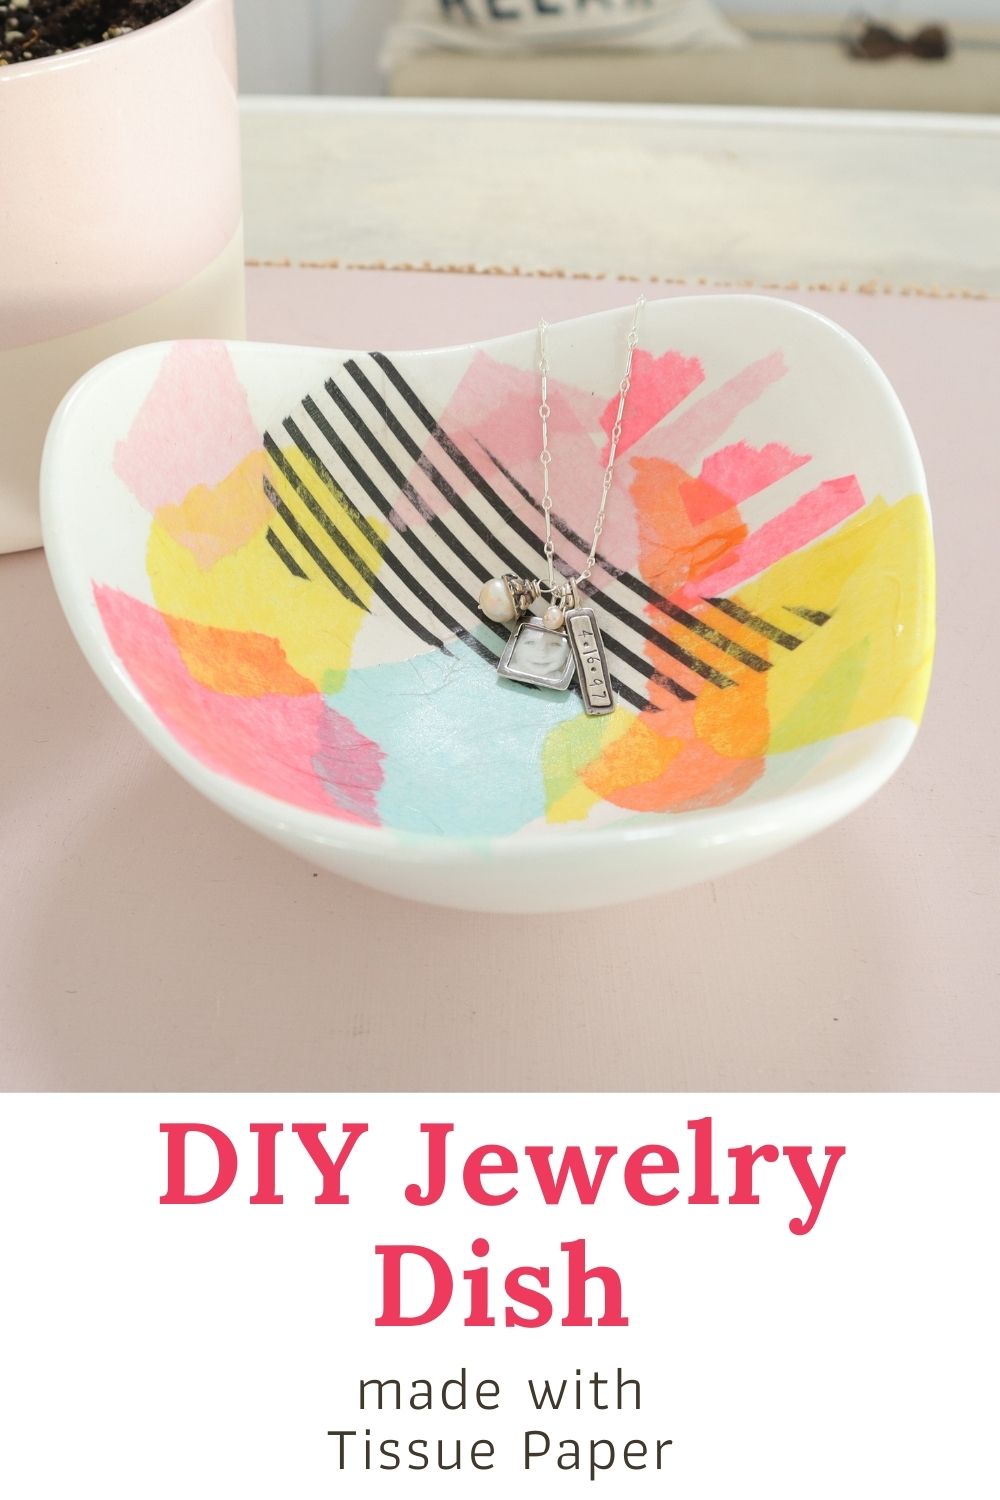
“Pin it” to your favorite DIY Pinterest Board so you can save it for later. Happy DIYing!!!!
Super cute DIY Michele!!!
Thanks Kendall! I’m so glad you liked the DIY. xo, Michele
Hi, I am from South Africa and follow Hometalks regularly although I am too anxious to try anything. I must admit that even I will try this DIY. I do have a question though: can one clean this bowl afterwards?
Author
Hi Hildegarde from South Africa: I’m so happy you found me through Hometalk! Don’t be nervous to try a DIY. Just go for it! And reach out with any questions.
I also have a lot of DIY’s on my YouTube Channel. https://www.youtube.com/michelebaratta
xo, Michele