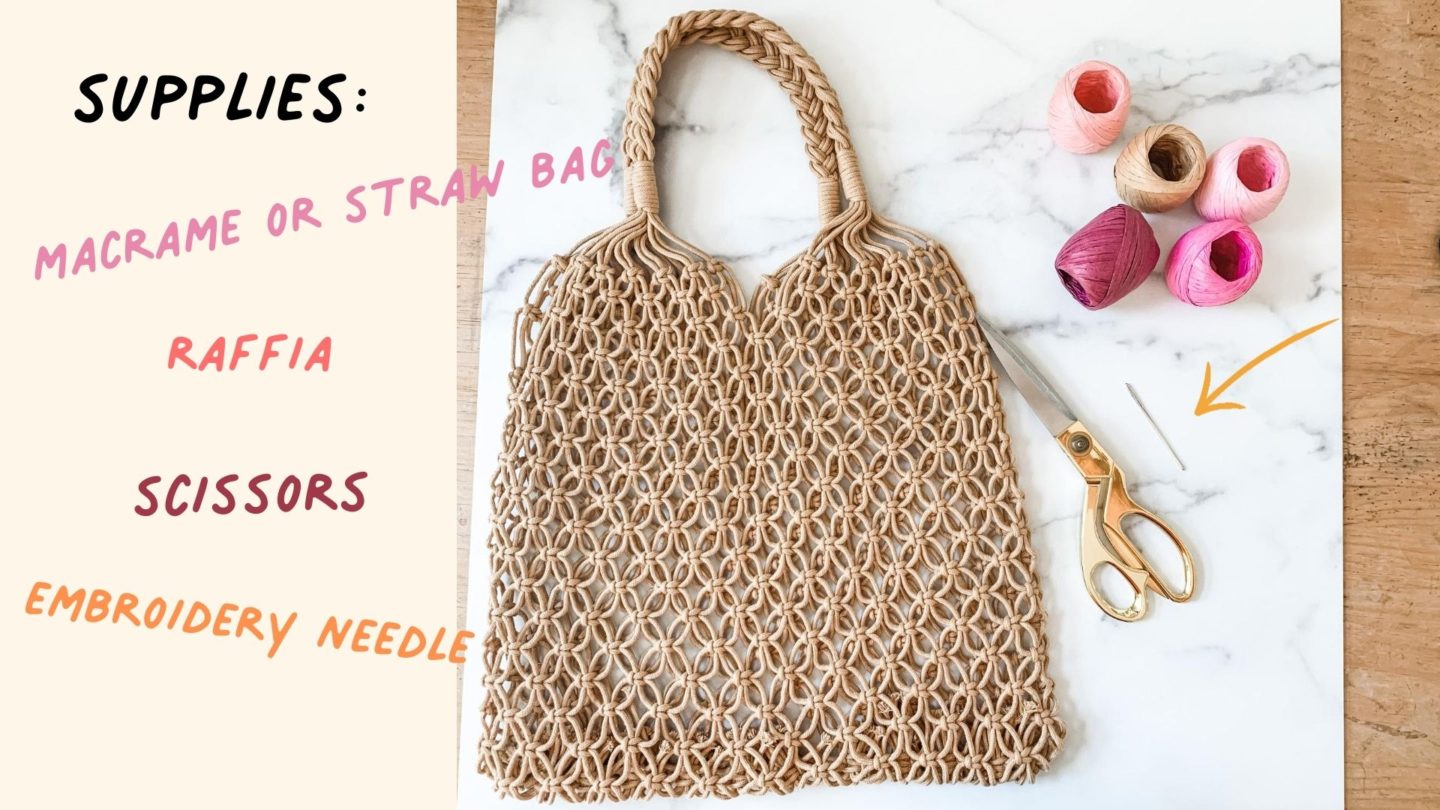
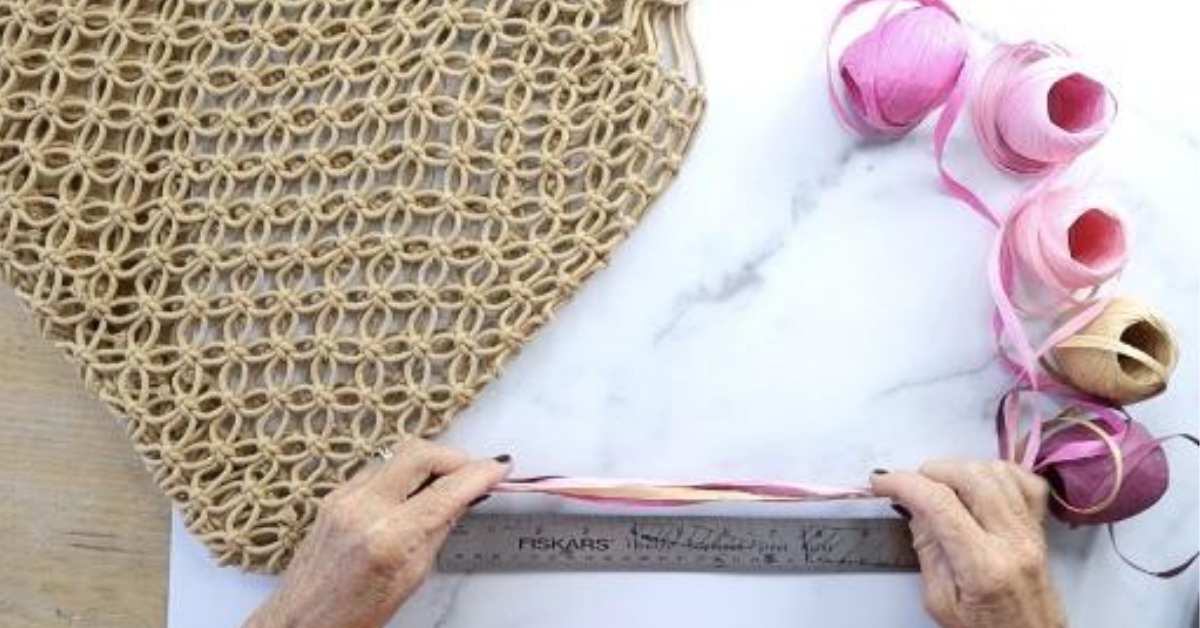
Collect multiple colors of Raffia at one time and measure 10″ lengths. Next, cut the 10″ grouping in half to be 5″ lengths. Continue to do this until you have a big pile. You’ll need a lot! I basically used about half of each colored spool.
Step 2:
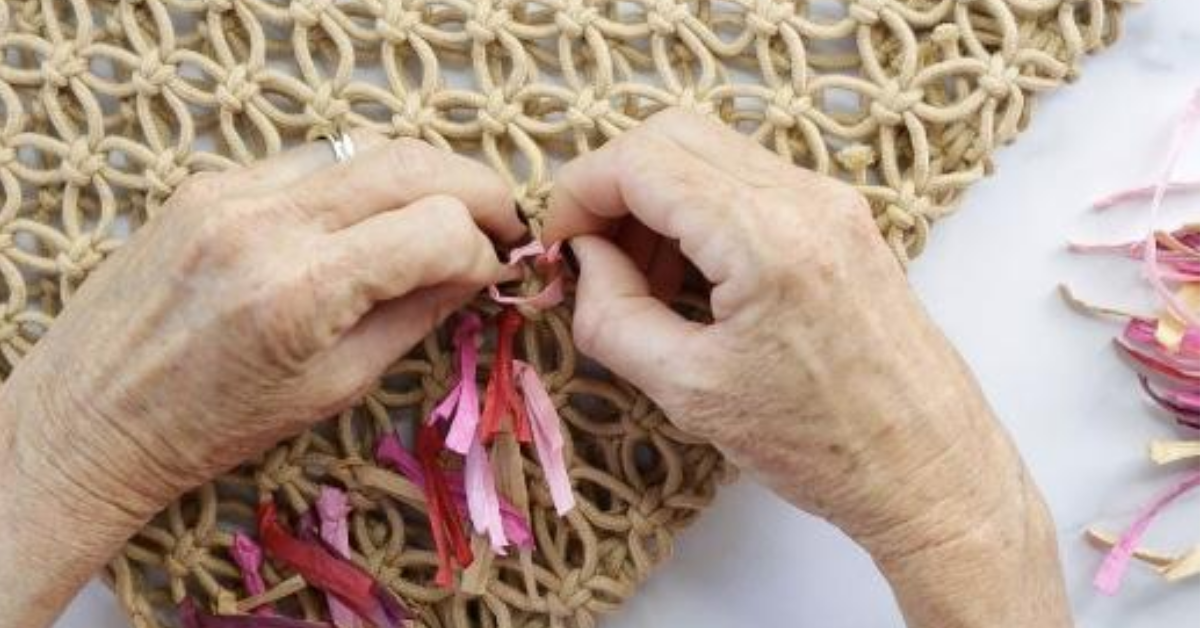
Take a 5″ strip of raffia and fold in half. Now, with the loop side down, slide it through an open loop on the bag. It’s important to remember to always point your raffia folded loop downward when making your fringe. If you point it up the fringe will not hang downward.
Step 3:
Now take the the two ends of the raffia and pull it through the loop of your raffia.
Step 4:
Now keep adding your raffia to your bag until you get the desired fullness.
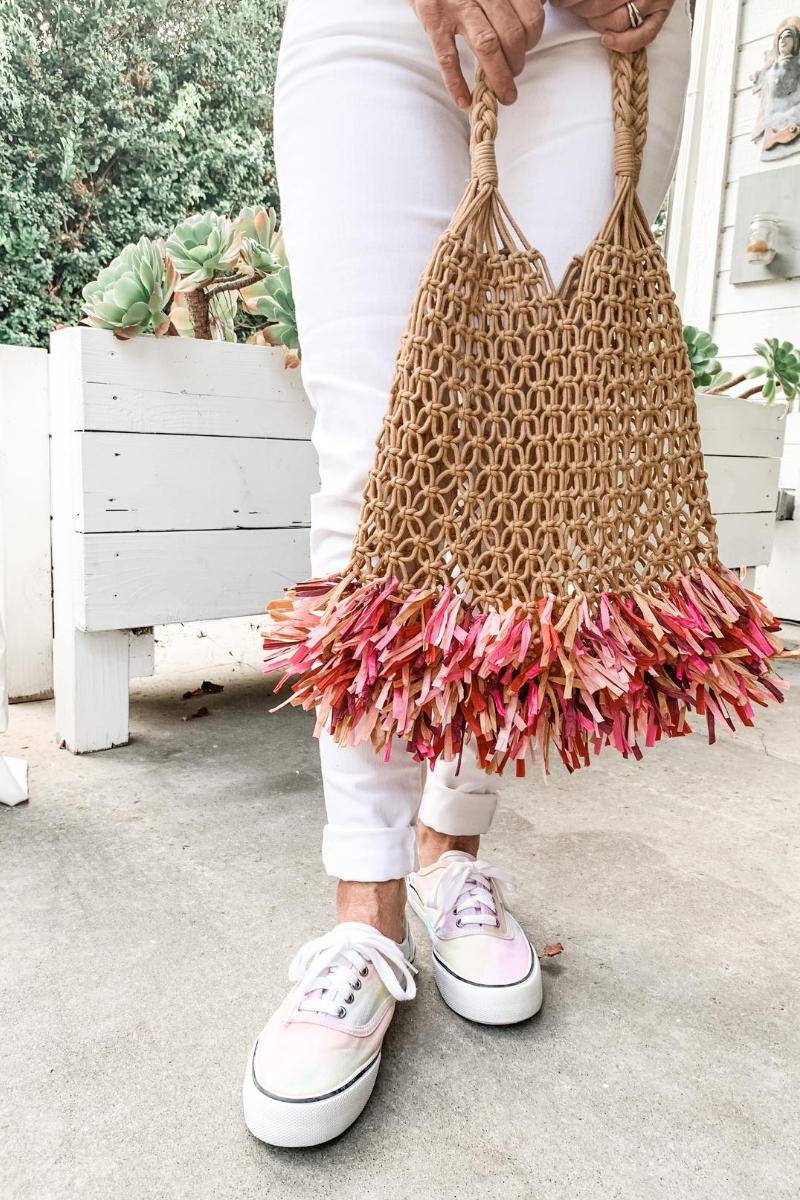
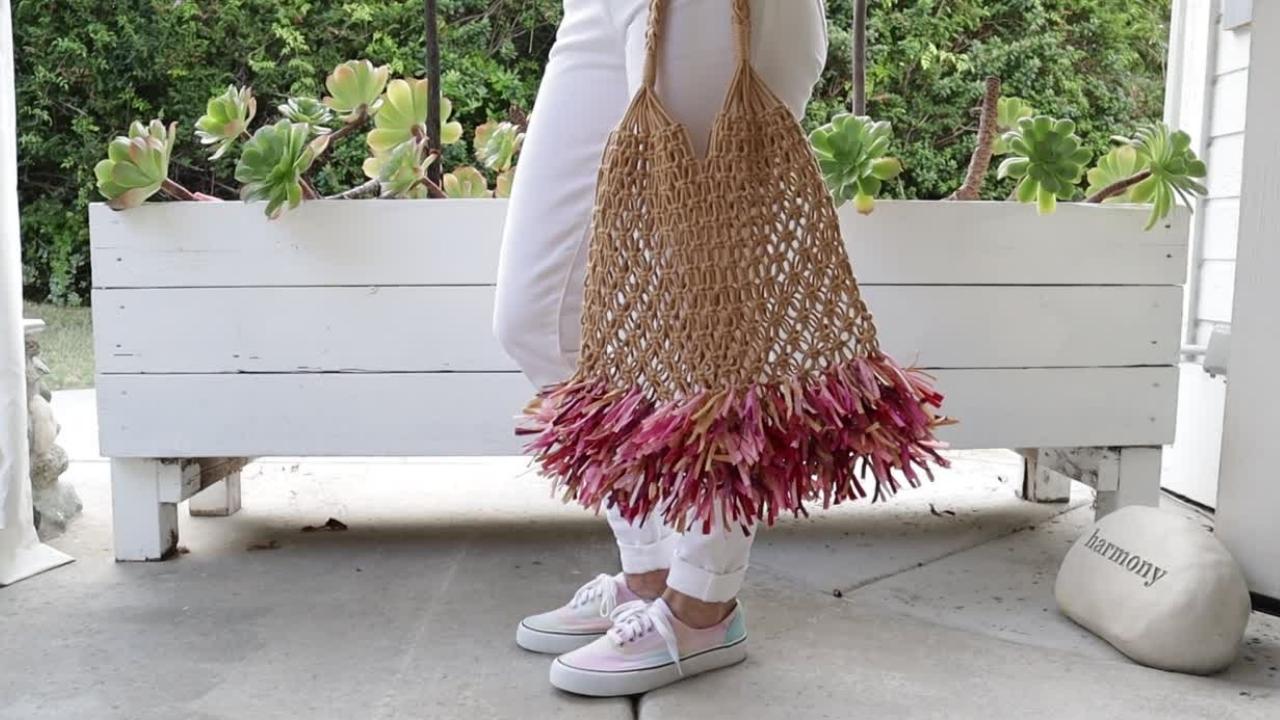
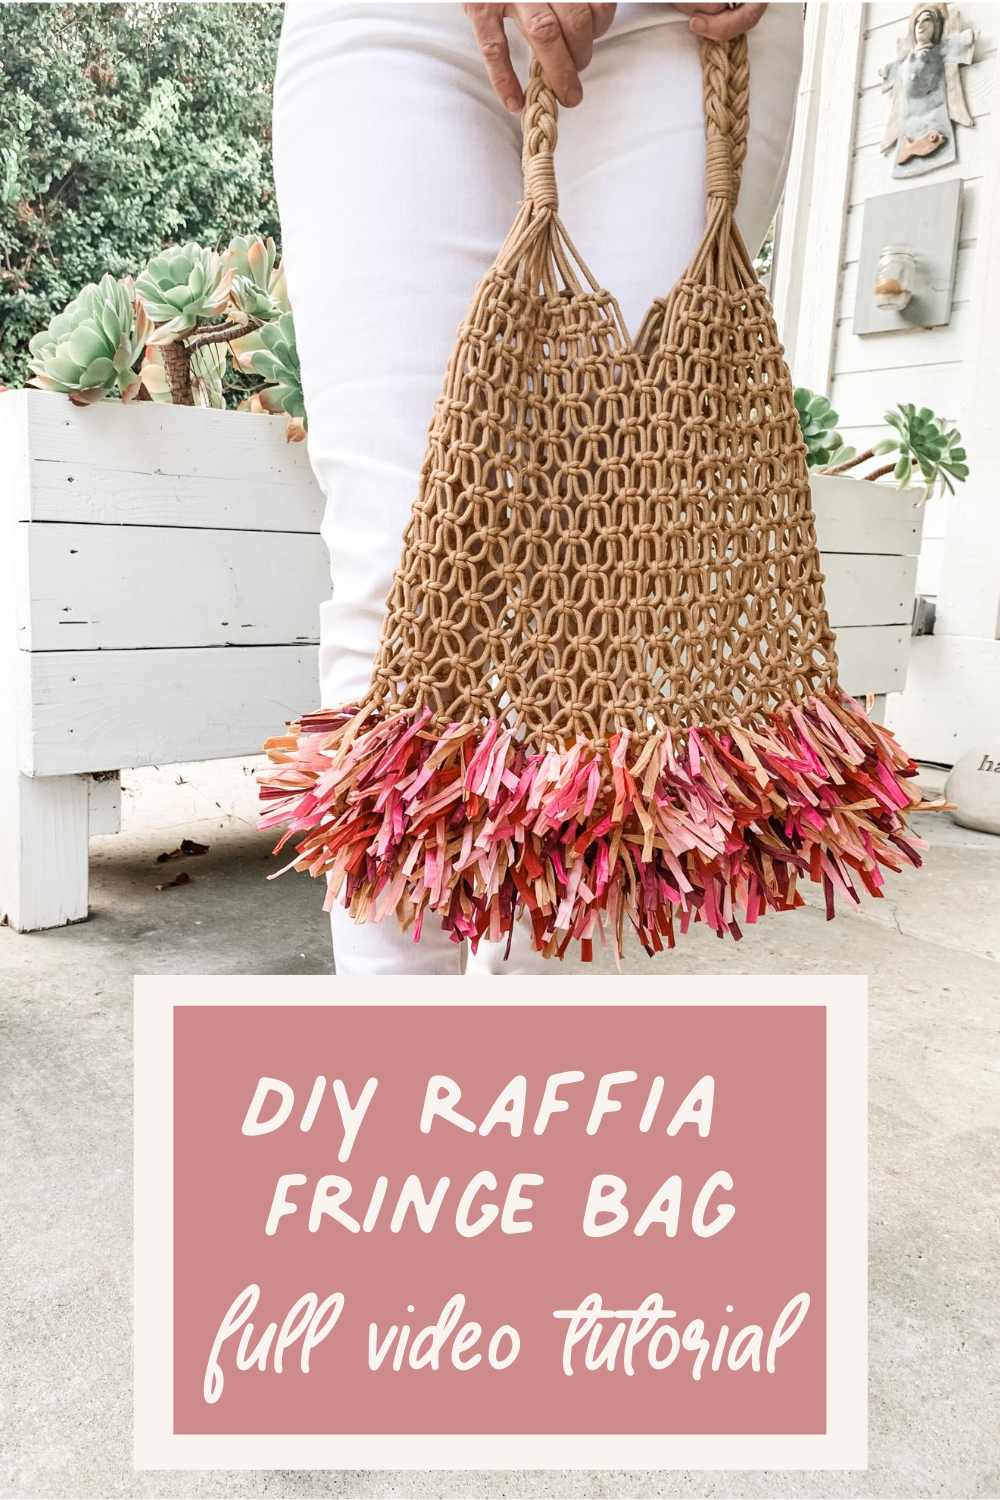
I added fringe on only one side of the bag and about 4 inches from the bottom of the bag.
Yippee! You are all done! I wanna know how your bag turned out so please let me know in the comments.
Amazon Disclaimer My Bella Branch is a participant in the Amazon Services LLC Associates Program, an affiliate advertising program designed to provide a means to earn fees by linking to Amazon.com and affiliated sites.
2 Comments
Candice
/
Such a cute DIY Michele! I’m so happy you are back on YouTube!


Such a cute DIY Michele! I’m so happy you are back on YouTube!
Author
Hi Candice: I just saw your comment! So sorry I missed it. Thanks for the warm welcome! xo, Michele