Use your favorite pictures to make custom Photo Coaster DIY that would be the perfect gift!
These photo coasters are inexpensive and easy to make.
“OMG…this is such an easy and cute DIY for Mother’s Day!”
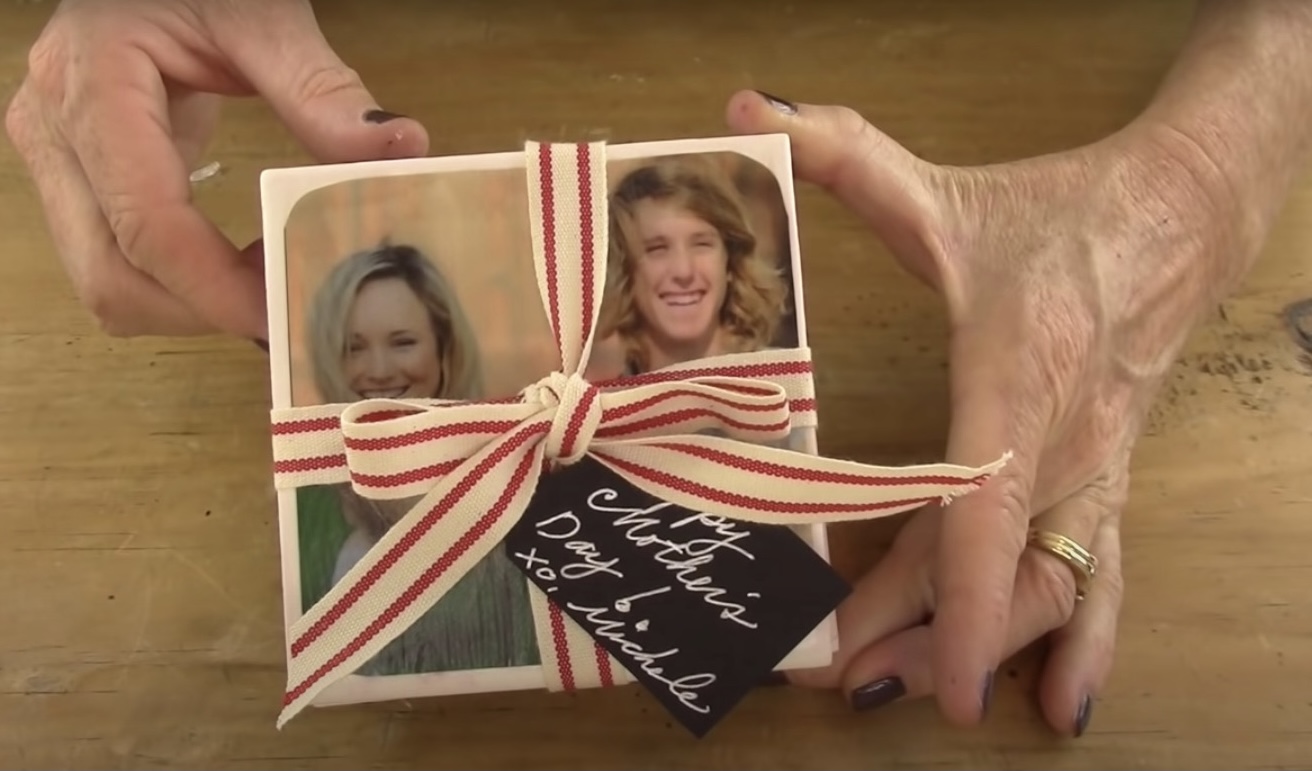
Mom will absolutely love this gift! And don’t forget Grandma!
This DIY Project is even easier if you follow along with the video.
If you don’t have time to make your own you photo coasters you can have them made for you.
Here are some other photo coaster DIY ideas:
I love DIY projects that are easy, affordable, and adorable!
This project is not just cute… It’s a meaningful and thoughtful gift idea!
You can add Mom’s favorite vacation photos with all her favorite family photos, I know I would love that!
BE CREATIVE WITH YOUR DIY PHOTO COASTERS
…Think outside the box
– A favorite trip
– Inspirational quotes
– Flowers
… you get the picture (no pun intended!)
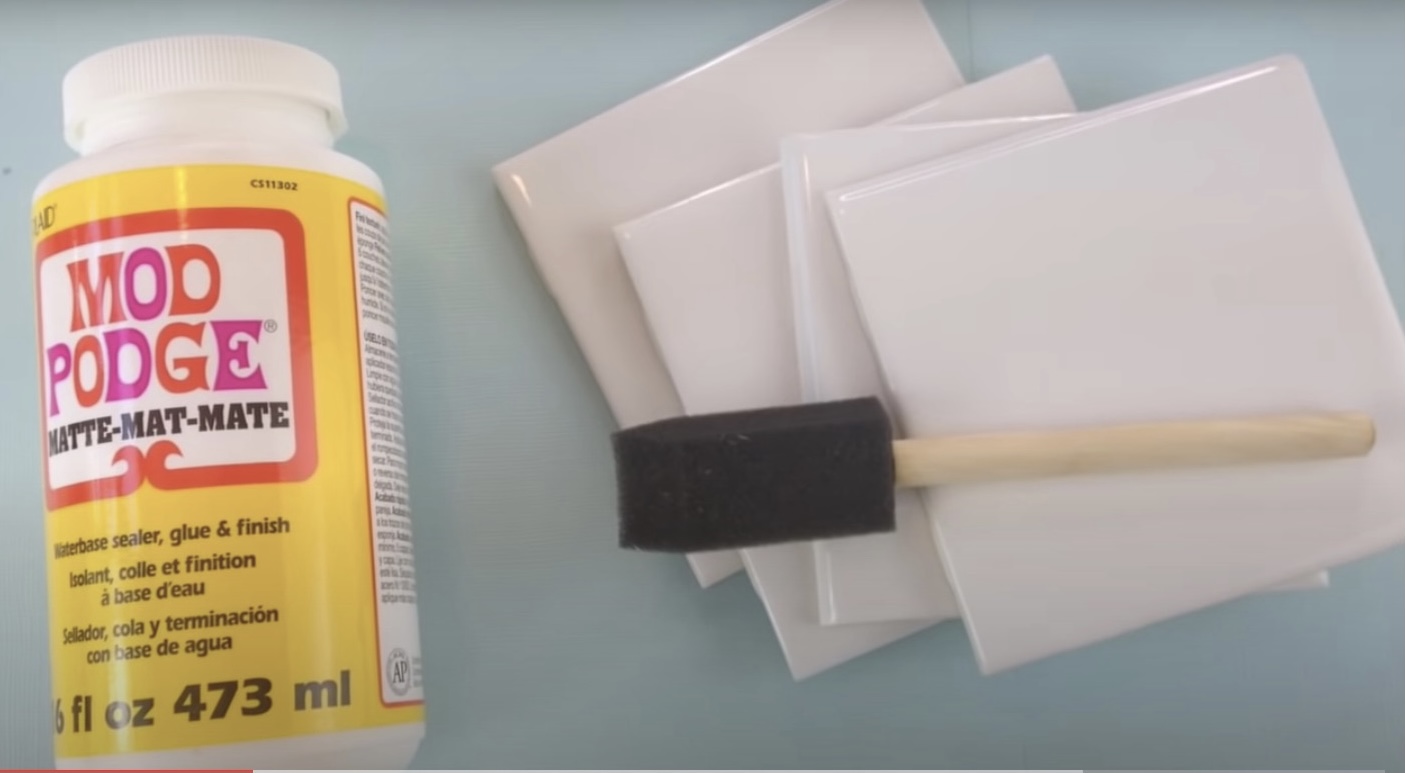
SUPPLIES FOR YOUR PHOTO COASTER DIY:
SKILL LEVEL: EASY
- ModPodge ( this will last for years….you will use this in so many projects)
- ModPodge Spray Gloss
- Tiles (4.25″)
- Foam Brush
- Scissors
- Printed Color Photos (use plain computer paper)
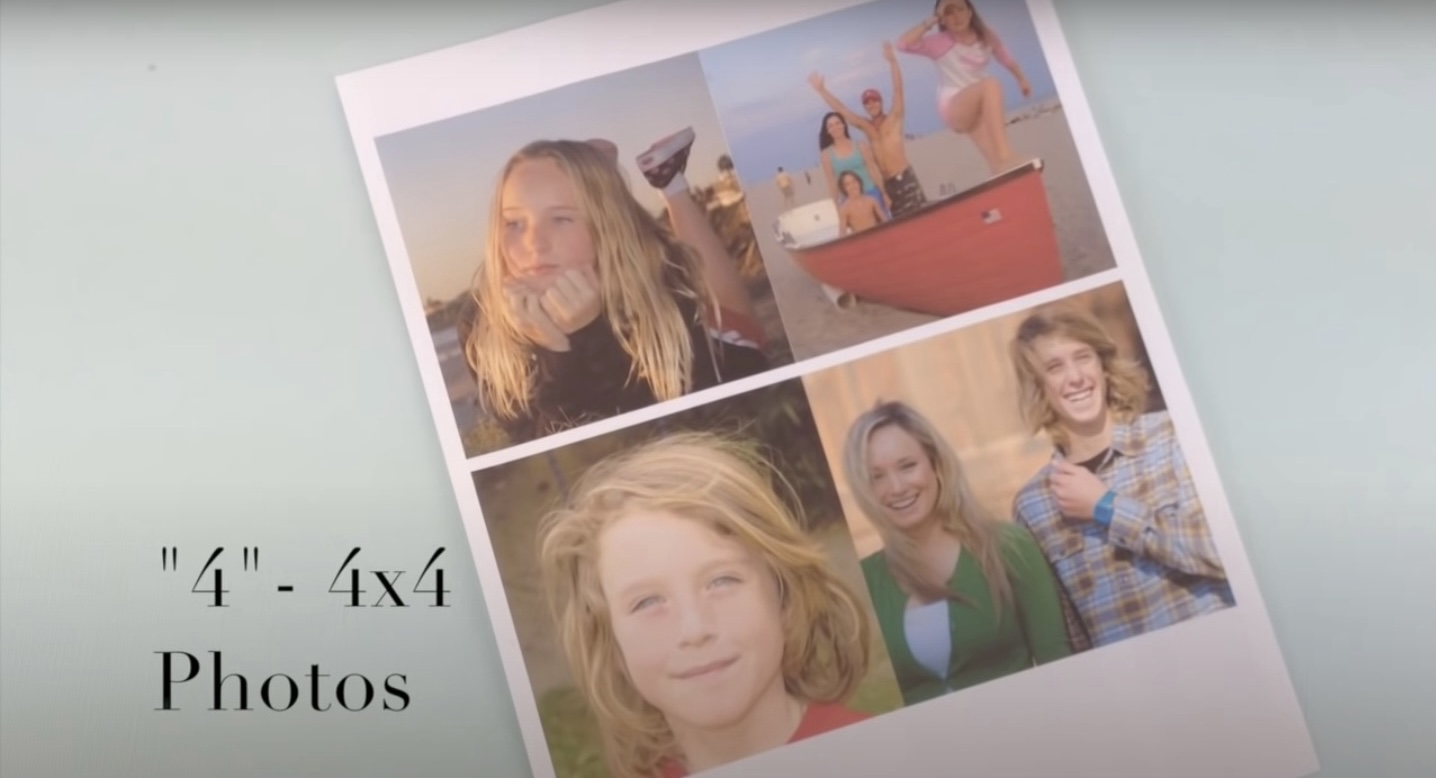
STEP 1: Print out photos to about 1/4″ smaller than the size of your tiles.
(So, for a 4 1/4″ tile you would print out a photo size of 4″)
(IMPORTANT: Print on regular computer paper.)
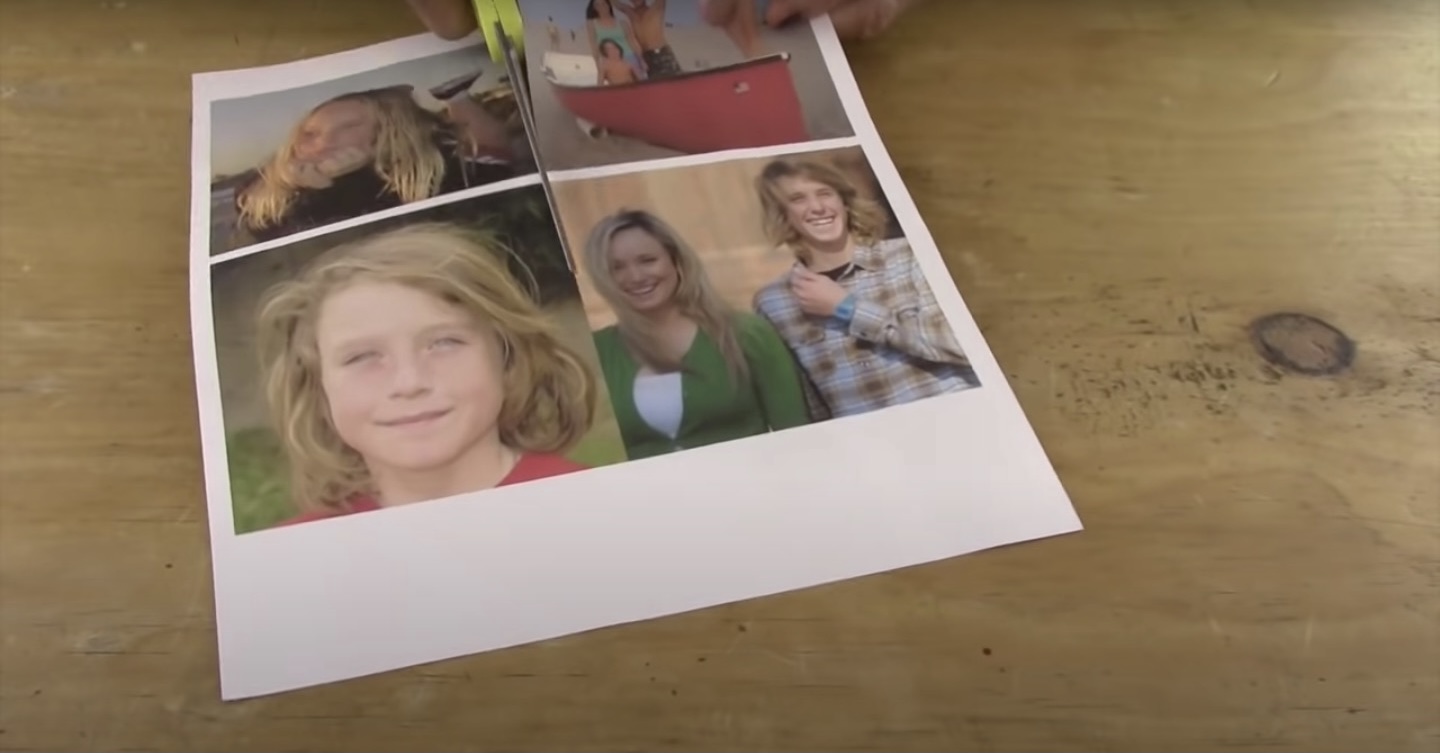
STEP 2: CUT OUT EACH PHOTO
…and as an added touch I rounded the corners. This is optional, of course.
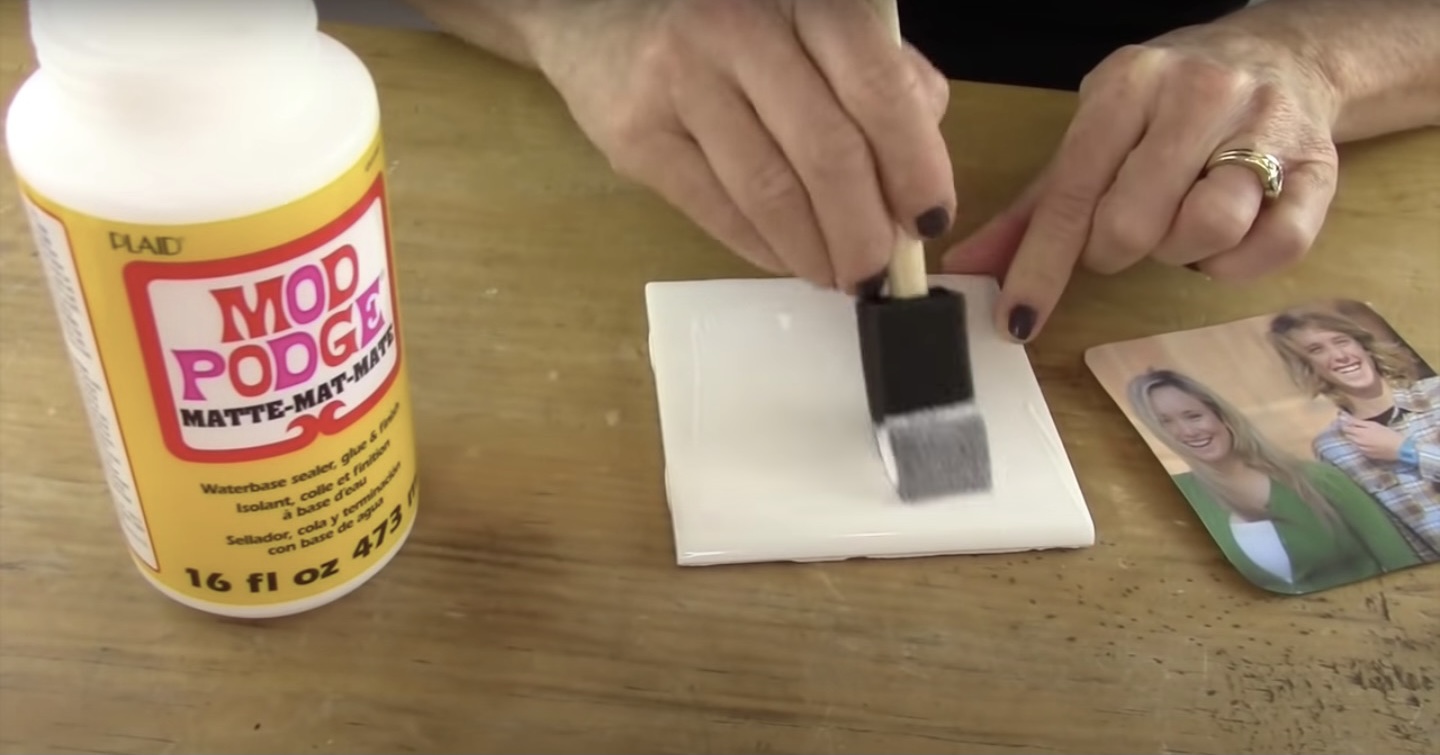
STEP 3:
Brush on a layer of ModPodge to the smooth side of the tile.
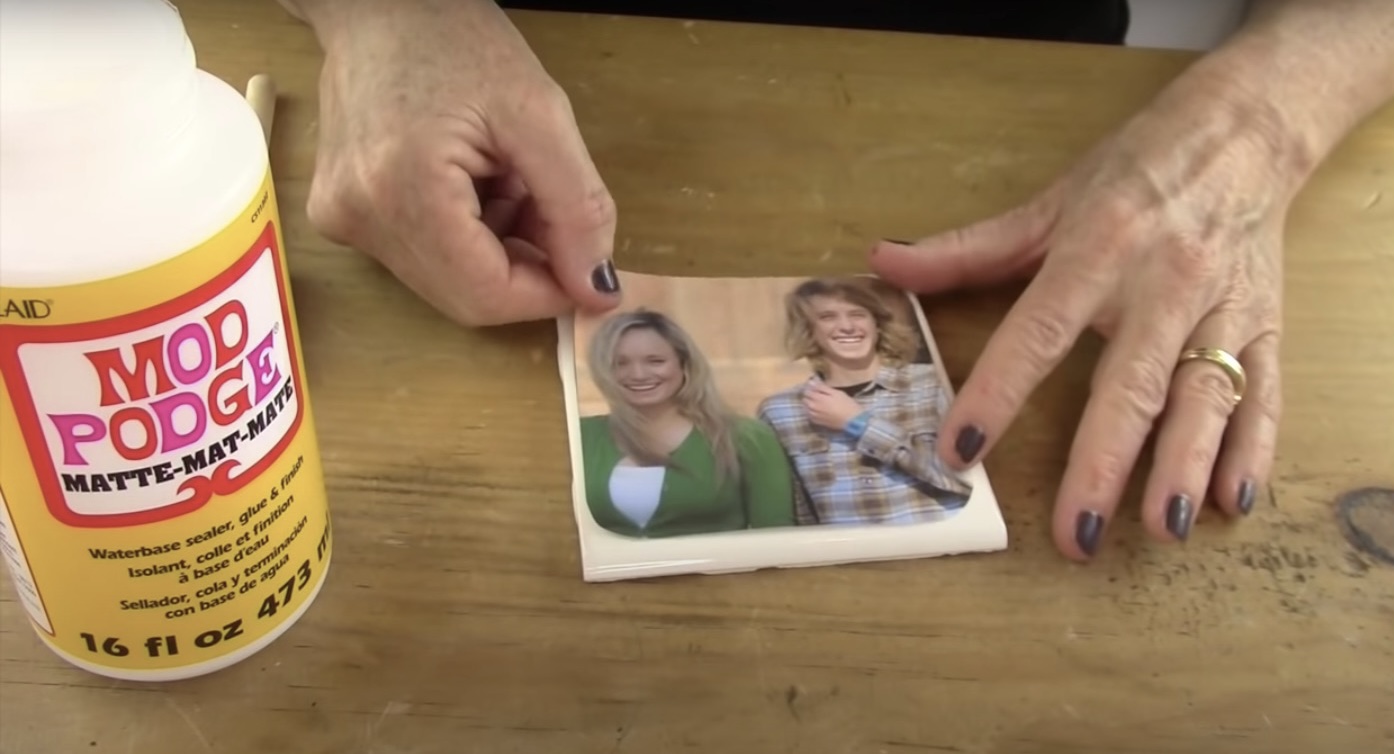
STEP 4: Position the photo onto the center of tile.
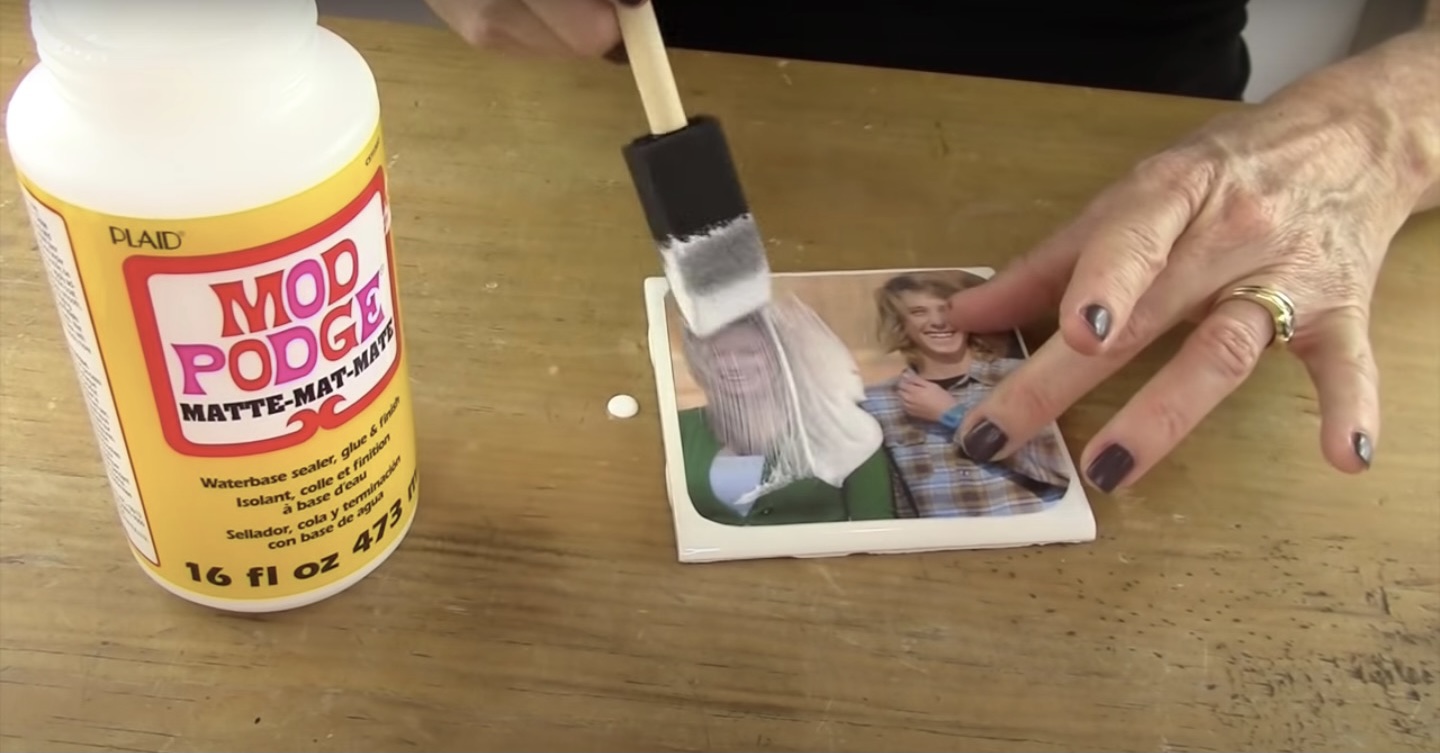
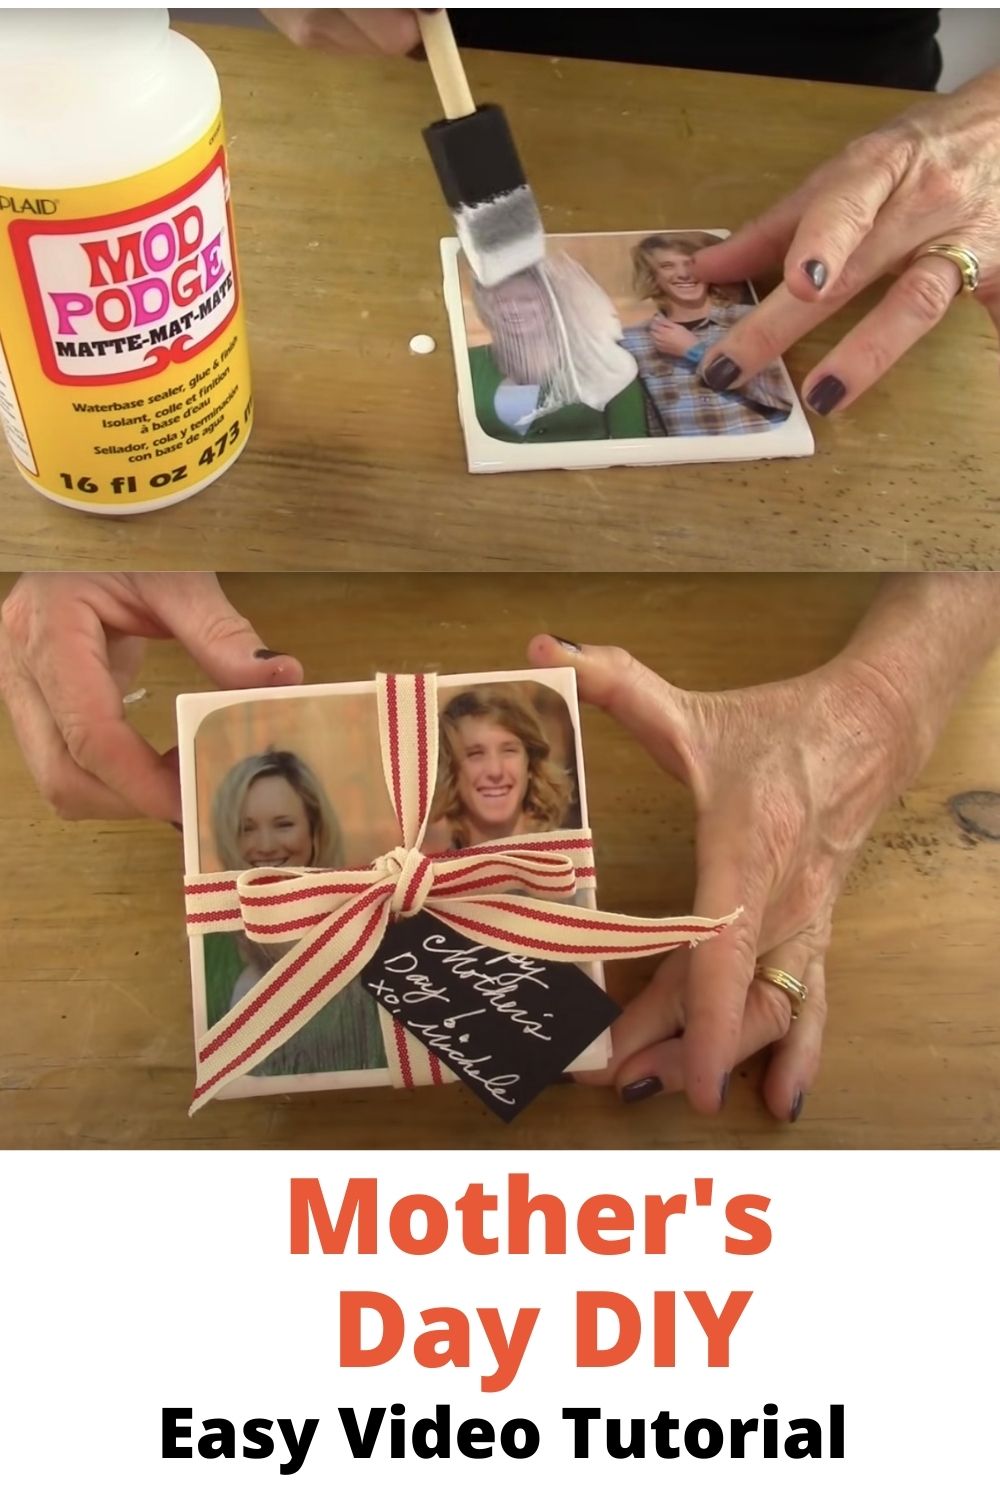
STEP 5: Gently brush the photo with ModPodge all the way to the edge of the tile.
SUPER IMPORTANT: DON’T RUB the foam brush over the photo or it will bleed and that would be a big bummer!
Now, if you are inpatient like me, you want to wrap these cuties up already!
Wait… you need to give your photo coasters a little time to dry.
So… grab a cup of tea and relax before adding another coat of Mod Podge.
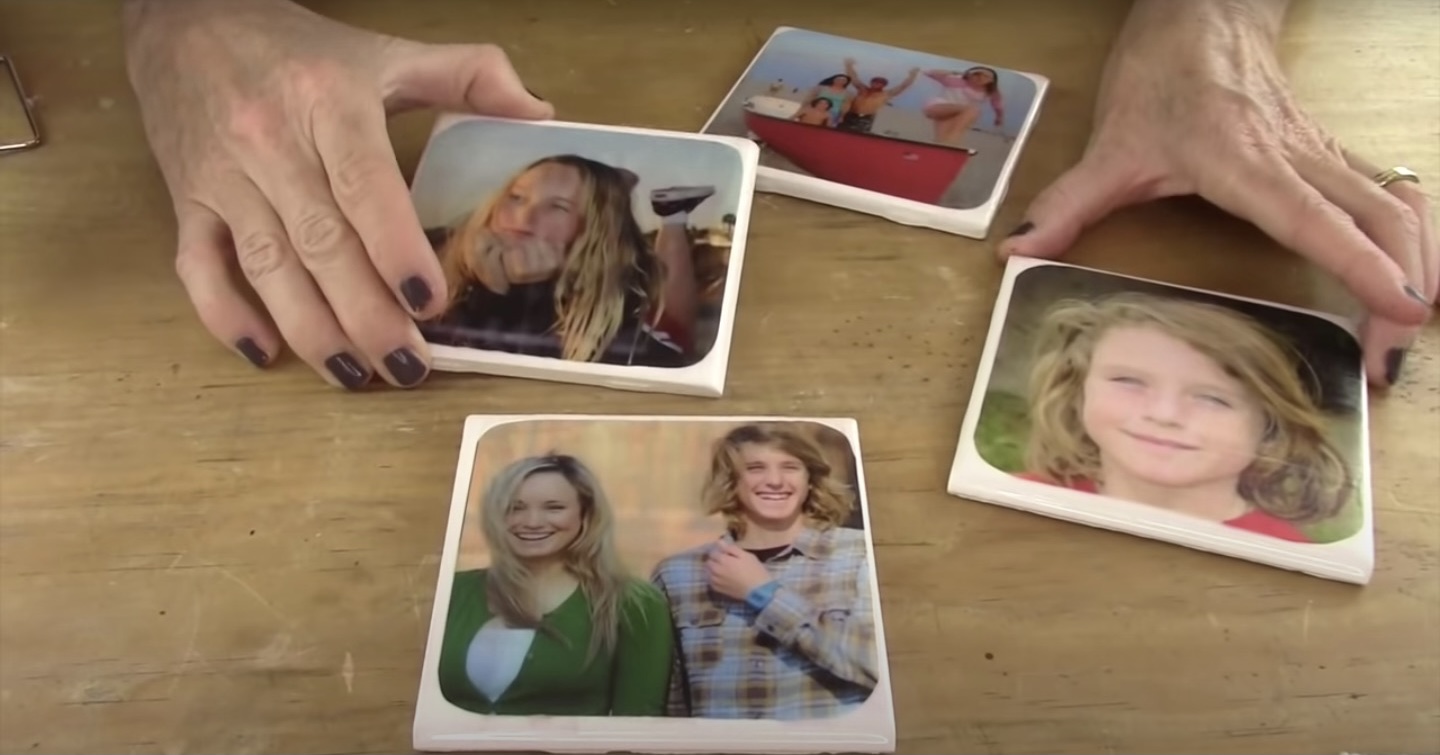
Holy cuteness! I know what you’re thinking.
I should make another set for myself!
You go girl!!! I’m with you 100%
My motto is “one for you and one for me.” …Hee hee!!
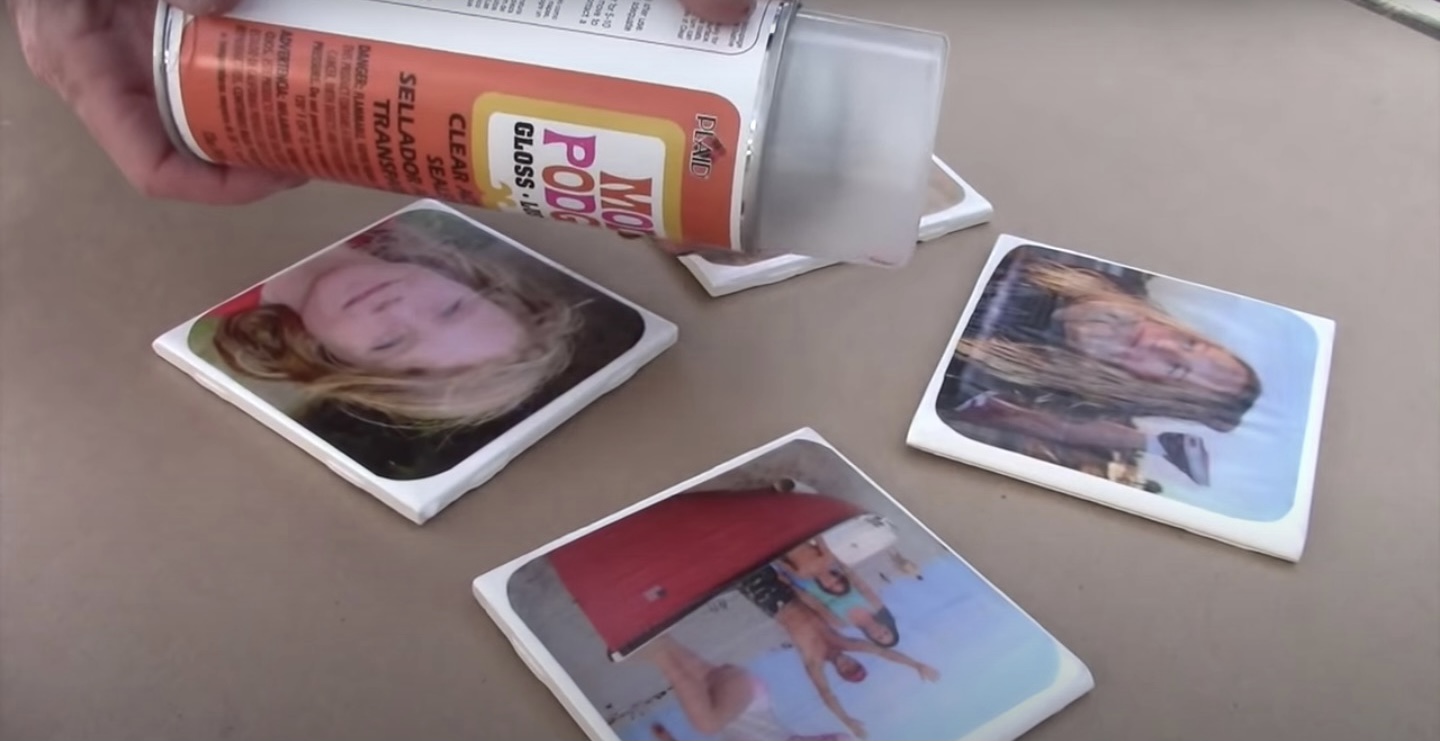
We are almost done with your DIY!
Let’s seal these adorable DIY Photo Coasters.
All you need is to spray a thin coat of Gloss as an added protection.
This will make them water resistant.
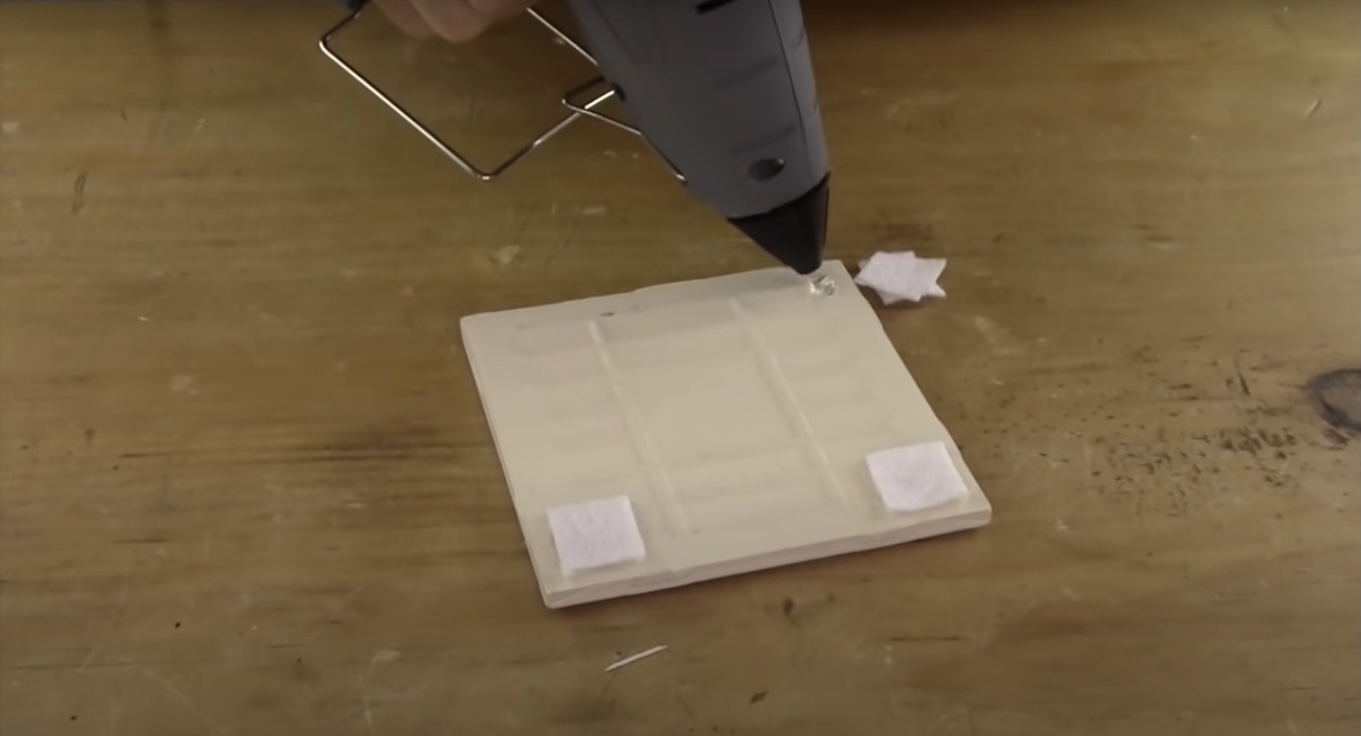
STEP 6: Now hot glue some felt corners to the bottom of your photo coasters.
Don’t forget…
Let all your tiles dry completely before adding the felt corners to the bottom.
QUICK TIP…You can use scrap material you may have around your craft room.
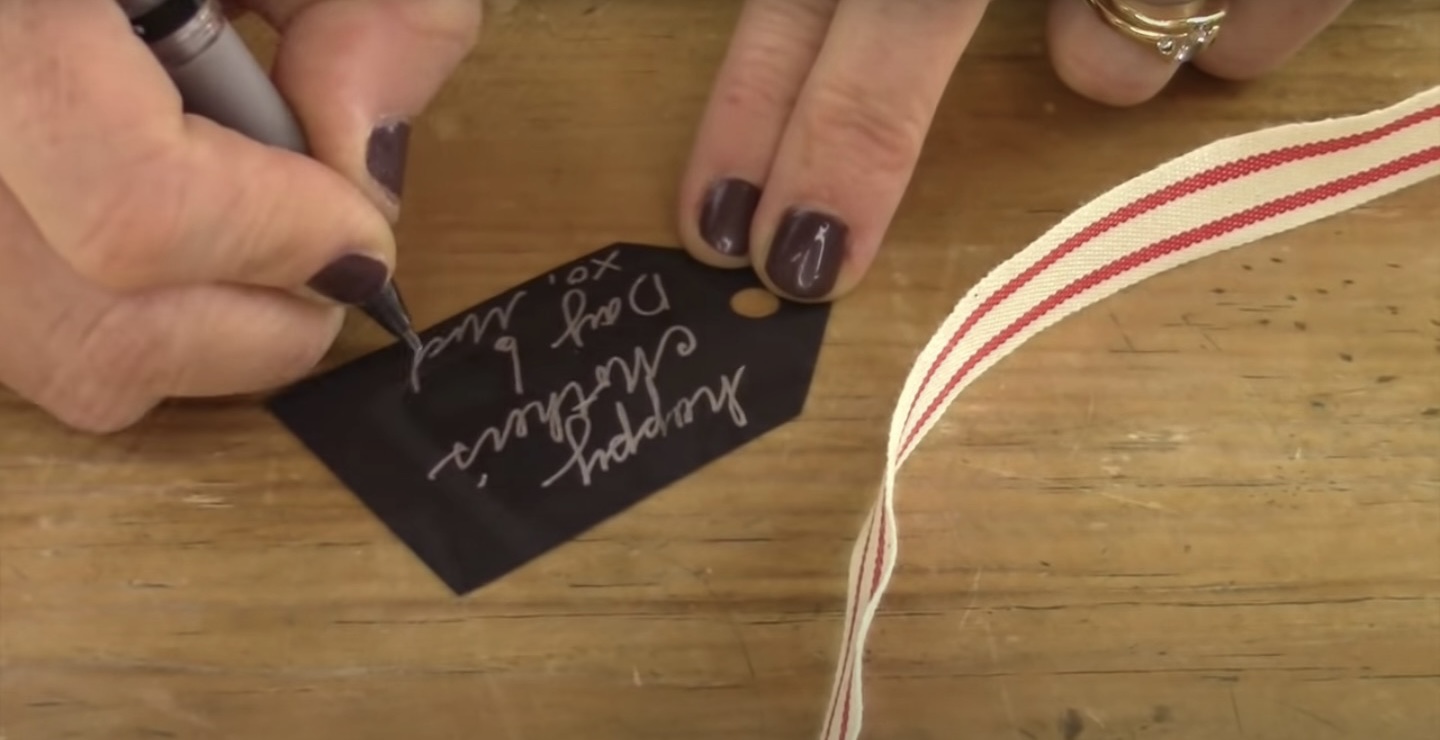
Now, just add a special note to your Mama…..
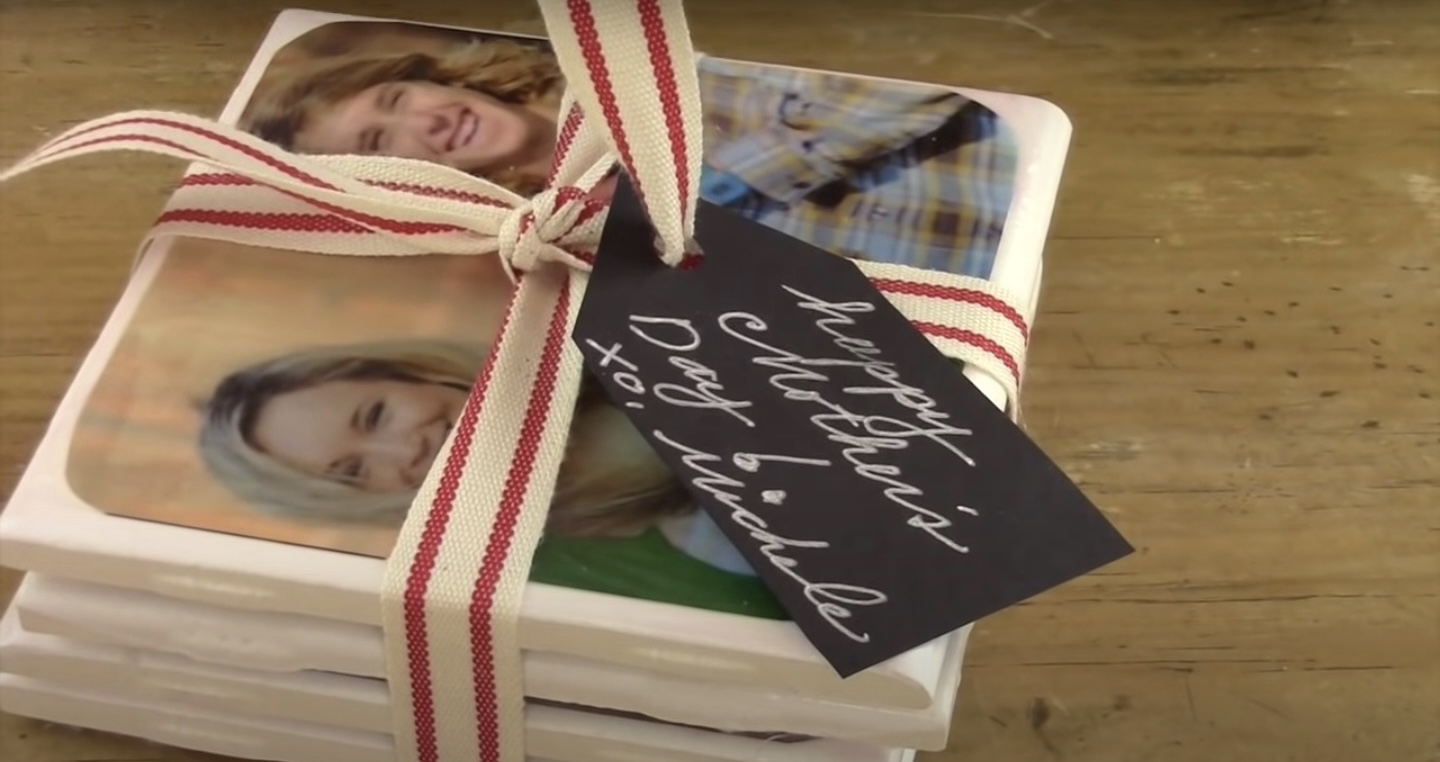
Wrap your Photo Coasters DIY with a cute ribbon.
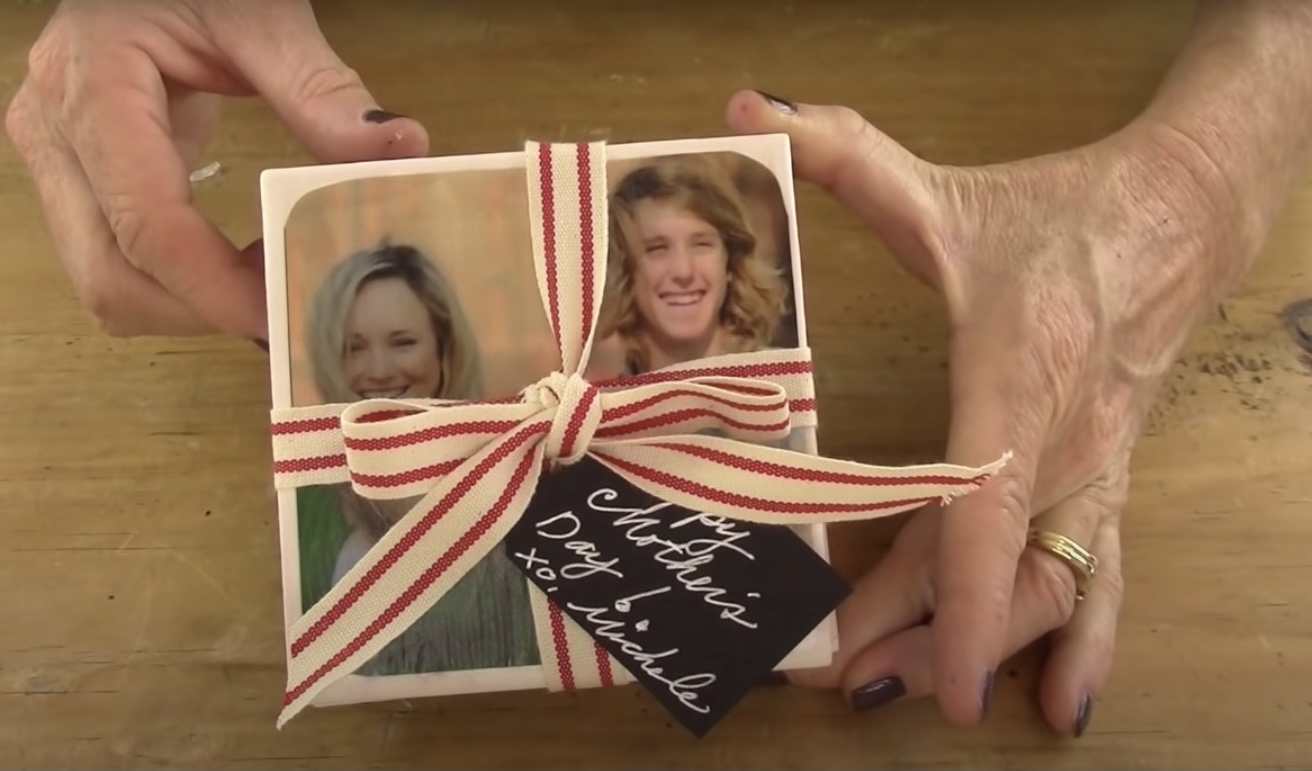
And you’ve got yourself an awesome Mother’s Day Gift!
Don’t have time to make your own DIY Photo Coasters?
…you can buy some Personalized coasters here!!!
Need some more inspiration?
Check out this list of DIY projects that Mom would love!
- Here are “7 Handmade Mother’s Day DIY Gift Ideas.”
- Picture Frame Mason Jar DIY
- Mason Jar Mother’s Day Gift DIY(Your kids can make this one.)
- “All the Reasons Why I Love You” – “Last Minute Mother’s Day Gift.
- Make a personalized name necklace using gold wire with Mom’s name on it.
- Upcycle a mason jar to make a “Jar of Love.”
Need a Last minute Mother’s Day Gifts gifts you can purchase online?
- Here are “8 Personalized Sentimental Gifts for Mom”
- Best Mother’s Day Gifts from Amazon if you need last minute!
I hope you you are inspired to make these DIY Photo Coasters!
Be sure to let me know in the comments if you plan to try this DIY project or if you have any questions.
I get back to all questions….I love chatting with everyone!
Full Disclosure – their are some affiliate links sprinkled throughout this post.
You can see more videos like this over on my YouTube Channel