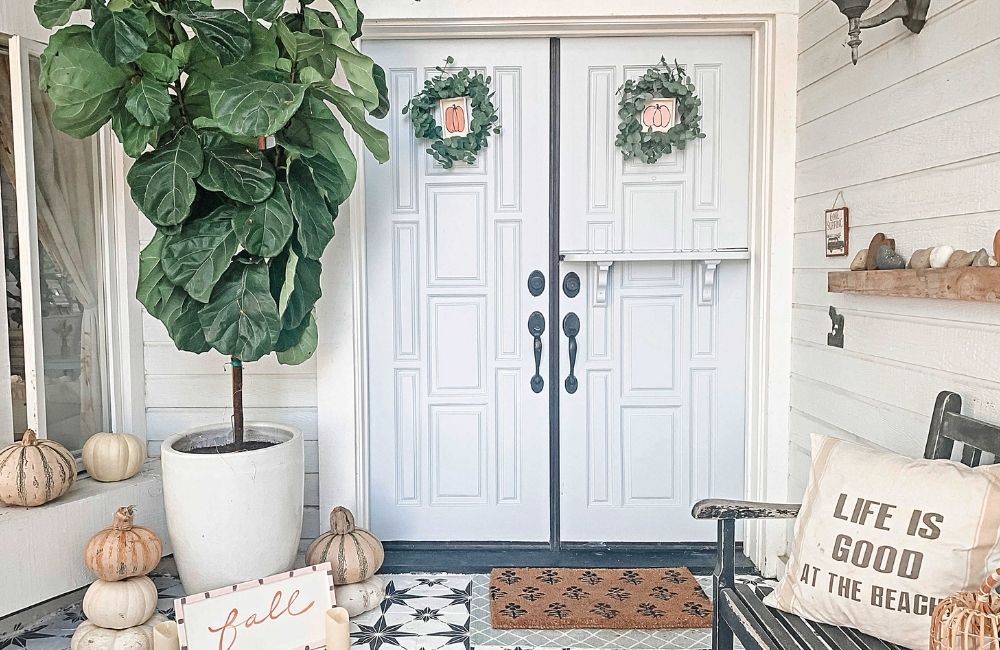
Fall is my favorite time of year. The leaves change color, the air gets a little cooler, and I can finally break out my cozy fall sweaters. I love decorating my home for fall, and one of my favorite DIY projects is making a pumpkin wreath. It’s a fun and easy project that always gets me into the autumn spirit!
As the leaves begin to change color and fall from the trees, many of us start to feel the urge to change our own décor to reflect the season. One easy way to do this is to add a fall wreath to your front door. While store-bought wreaths can be lovely, there’s something special about creating your own DIY wreaths, and it’s not as difficult as you might think. For a twist on the traditional pumpkin wreath, we’re going one with a painting of a pumpkin in the center.
I have an easy DIY pumpkin wreath to make for your front door or your fireplace mantle. You only need a few supplies. And, I made a step-by-step full video tutorial, below, with 3 more DIY Fall project ideas included.

Watch the “Step-by-Step” DIY Fall Home Decor Video Here.
I am all about making things that are unique…but, also easy!
There are so many fall wreath ideas.
You can run to a craft store like Hobby Lobby and of course purchase a beautiful wreath like a burlap pumpkin wreath, a pumpkin mesh wreath, or a floral wreath.
Or, you can do what I would do and grab some supplies and make your own simple wreath for your fall decorations.

Fall has officially landed in San Diego.
It actually rained today.
Well,
…it was more of a mist LOL! But, the sun wasn’t out so it made it feel like Fall.
What’s the weather like in your neck of the woods?
We were in New York last week and the leaves were changing. It was beautiful!
Why were we in NYC you ask?
My son, Tristan, had his first LIVE Fashion Week show. Whoo Hoo!!!!
….and one of his clothing designs was added to the Metropolitan Museum’s “Lexicon of Fashion Exhibit.”
You’ll see him taking a selfie in front of his couture outfit in this GQ article.
Ok, I’m back from gushing over my son!!!
Let’s make this adorable DIY Fall Wreath!
What You’ll Need to Make Your DIY Fall Pumpkin Wreath
- Eucalyptus Wreath or similar
- Small wood tray (You can get one at Dollar Tree)
- Hot Glue Gun
- Acrylic Paint (or Spray Paint if you use a stencil)
- Paint Brush
- Palette Paper
- Twine

Let’s Make Your New Favorite Wreath – DIY Fall Wreath
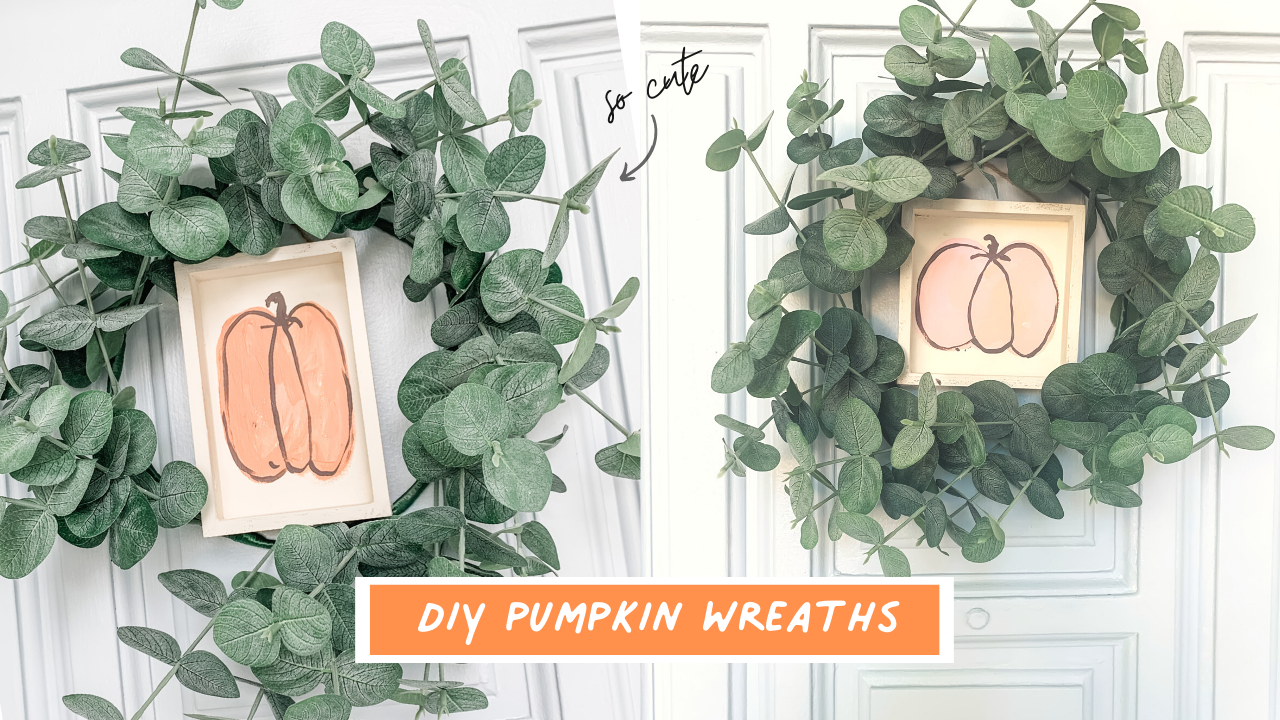
For this easy DIY Fall Wreath project, I used a small square unfinished wood panel board on one and a rectangle shape on the other.
Step 1: Start by Painting Two Different Little Pumpkin Shapes.
I painted one pumpkin pink and the other orange. Of course, you could choose fall colors. I just wanted something unexpected.
You’ll notice I didn’t make the pumpkins the same size either.
The smaller pumpkin is plumper.
Don’t overthink this part.
It’s basically like painting a heart shape with a few indents at the bottom. (photo above for reference)

Step 2. Outline Your Pumpkins
After you paint your pumpkins, grab a brown-toned paint color.
OR, you could lighten some black paint.
I just wouldn’t use solid black because it will make it look too perfect. The goal is to make it more whimsical.
With a small brush, outline the pumpkin and add a few curved lines to give the illusion of a pumpkin’s natural indents.
You’ll notice that I didn’t outline the edge of each pumpkin. I held my paintbrush loosely and painted just inside each color.
That way you will see some color popping out at the top of the pumpkin and the bottom too.
Channel your inner child for this project and “paint outside the lines!”
Then paint your pumpkin stems on your little pumpkins.

Step 3: Add Twine
Cut “2” pieces of twine about six inches in length.

Step 4: Now flip your frame over and a dab of glue and add the twine to the back in two places.
If you don’t have twine, don’t worry. You could use floral wire or whatever you have on hand. You could even use a green pipe cleaner or an orange pipe cleaner. I love thinking outside the box.
Just add a little hot glue and attach your twine.
The twine is what you will be using to attach to your wreath.

Step 5: Finishing Your DIY Fall Wreath Project
Next, grab two wreaths. You can use any type of wreath. Just pick one that would fit your style.
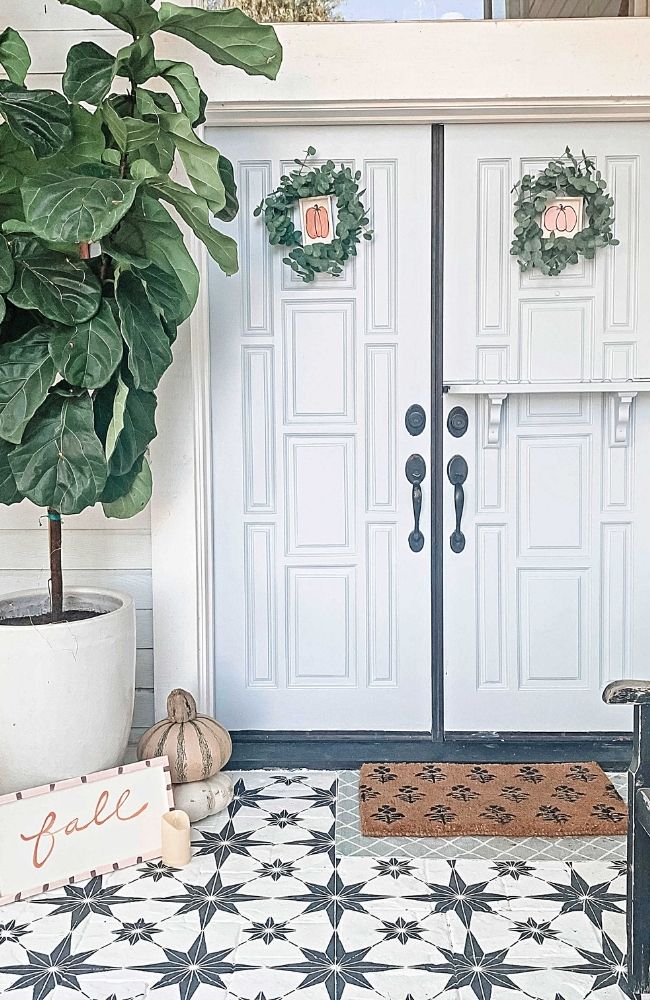
I used two small eucalyptus wreaths.
I added a little nail to my front door and placed each pumpkin frame on the nail first.
(You could use a command strip hook instead of a nail)
Next, I placed each eucalyptus wreath on that same nail.
Hang your new fall wreath on your front door and enjoy the autumn season!

I have to say…I looove how this DIY Fall Wreath project turned out.
What’s cool about this wreath is that you could change out the pumpkin painting when the holiday changes. Valentines Day you can add heart frames. St. Patrick’s Day you can add Shamrocks. You get the picture.
SUPPLIES LIST:
– Rectangle unfinished wood panel frame
– Square unfinished wood panel frame
– Twine
– Gold Scissors (Gold scissors make everything look better, LOL!)

I have to say…I looove how this DIY Fall Wreath project turned out.
And I’m thinking I can use this same technique for all different holidays.
You can just replace the pumpkins you made with hearts for Valentine’s Day; bunnies for Easter; or even a Birthday hat for a Birthday Party! There are so many possibilities!
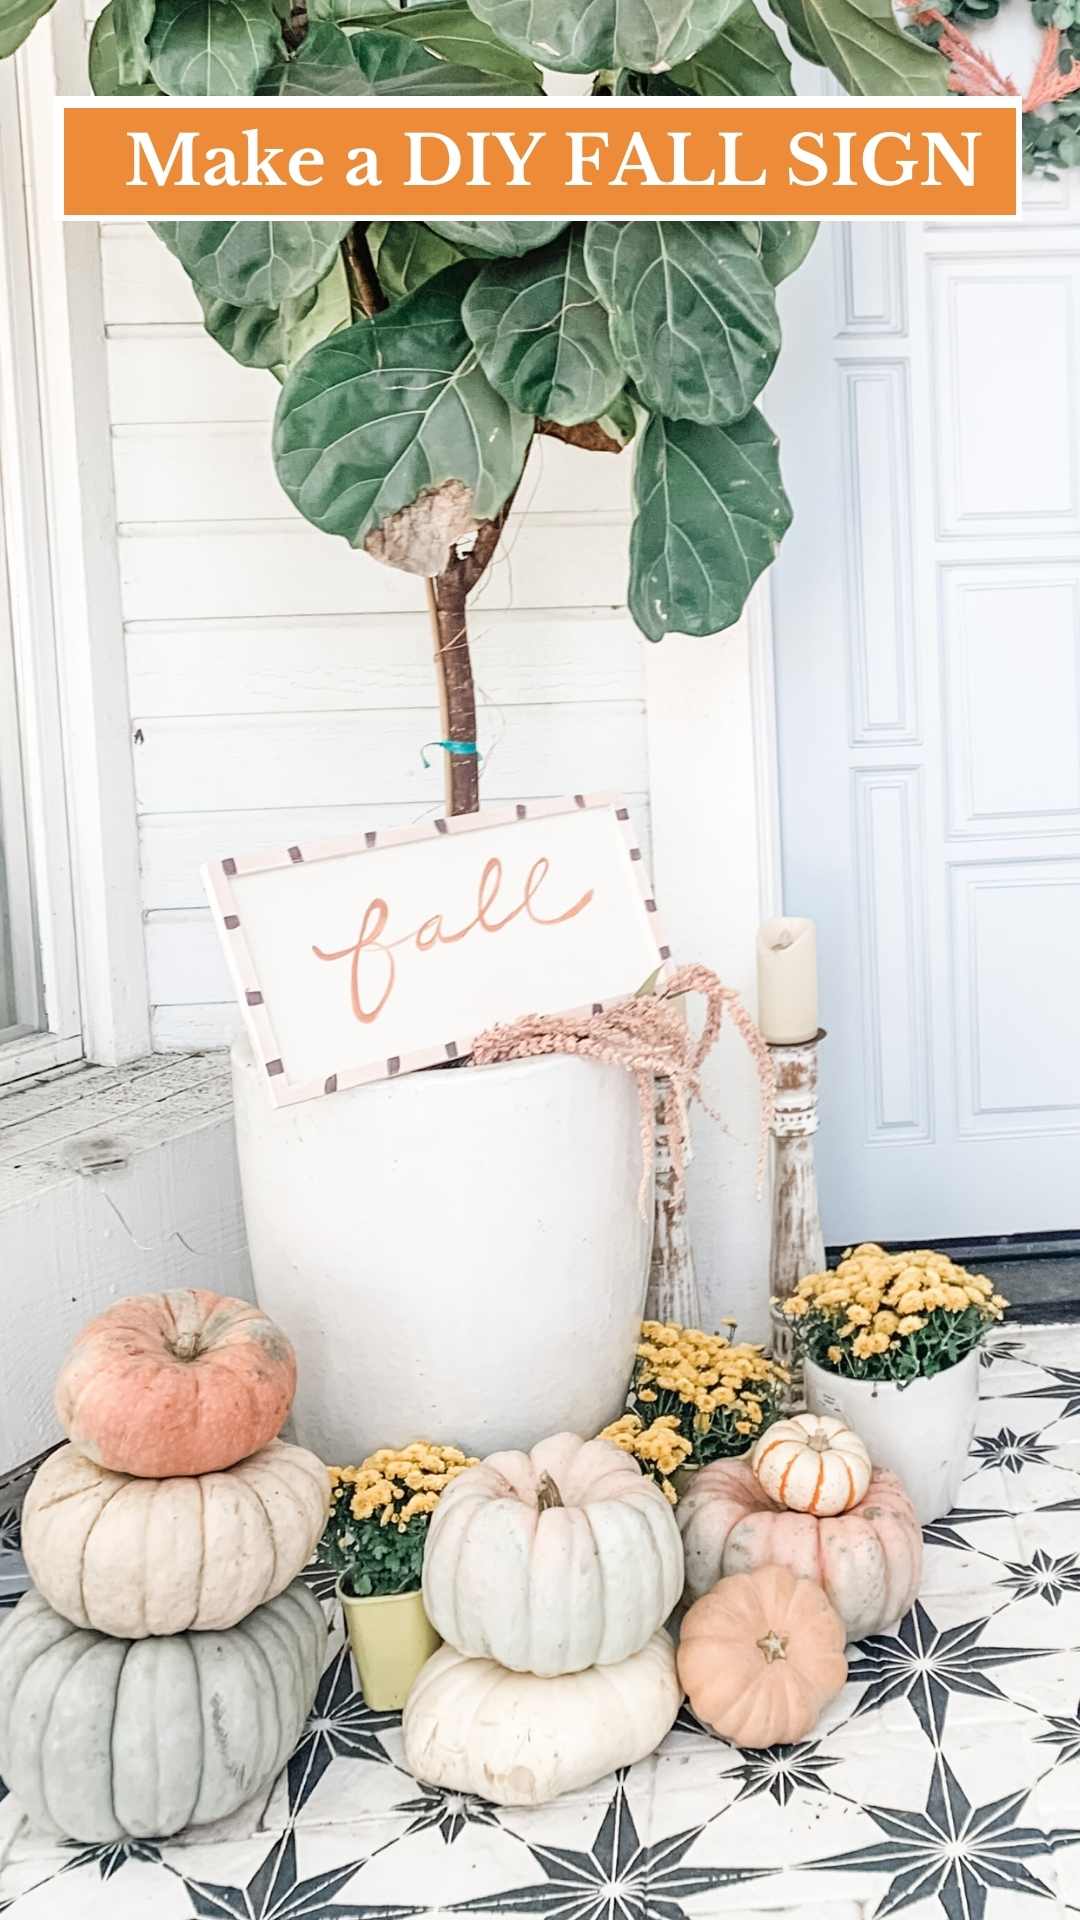
Below is a video tutorial with this project along with three other Fall DIY Decor Ideas.
Here’s a link to “4 Fall Home Decor DIY Projects You will Love to Make!”
PIN the DIY Fall Wreath Tutorial to your favorite Pinterest Board for Later…

